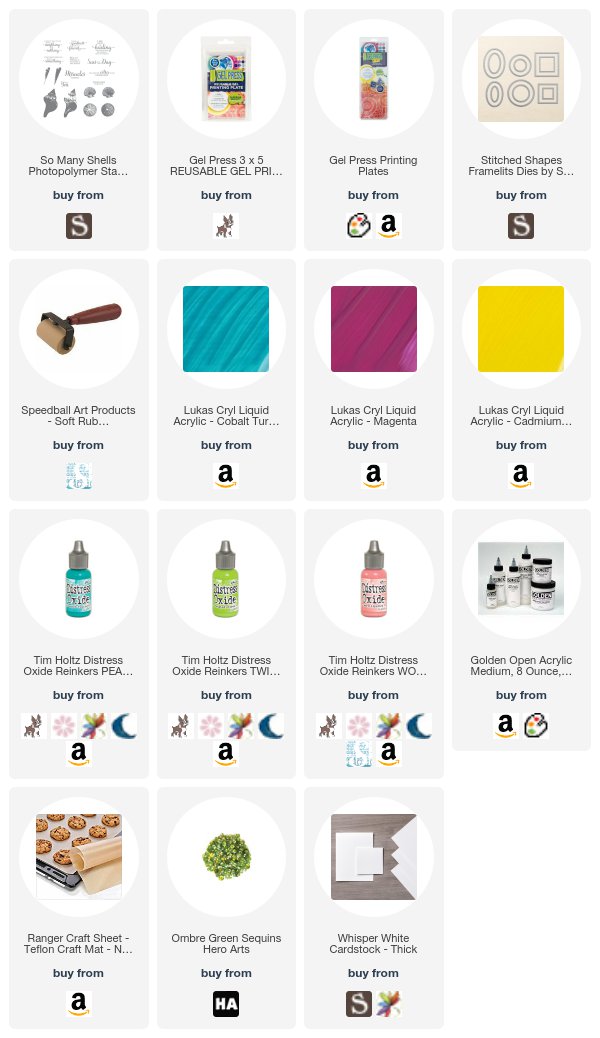
I decided I'd try a twist on the technique using my Gel Press plates today - because normally this technique is done between pieces of glass.
As a person who lives in a house that is 100% slate tiles, and as a person who owns two little wrecking ball felines, I didn't feel like sheets of glass would be in anyone's best interest, so I made do with what I had.
One of the most common questions we get at Splitcoast is "Will X work with Y?", where X is a product mentioned in a technique, and Y is a product that the person owns.
Our answer is always the same.
just try it.
For some reason, people are terrified of their own tools. Think about a Y-Chromosome human going to Home Depot one Sunday morning to buy a hammer. He buys the hammer and comes home and starts hitting things with it.
He does not spend three hours on the internet wondering if he can hit this or that or if he will break it. He just uses the tool.
We as creatives need to just use our tools. Don't make them too precious. Don't worry about breaking them. Don't worry about a right way and a wrong way - JUST TRY STUFF. Some of it will work, some of it won't, and you might ruin some stuff. None of that is a problem. There are always more things to try and nothing you do at your desk brings about the end times, I can assure you.
So for today's guest spot over at Gel Press, I decided just to try it. Try a softer surface than the traditional one for this technique. And no one died. AMAZING!
So what dendritic means is basically forms that branch sort of like a tree. This effect is achieved by squishing paint between two hard surfaces, then pulling them apart and using each side to pull a monoprint.
So I thought what if I sandwiched paint between two flexible gel plates?
It was so much fun. Here's the result of that which is very similar to the classic dendritic printing technique. (All supplies listed below the second card.) Doesn't it look like he's swimming past undersea plants?
Then I decided to try something with Distress Oxide reinkers and an acrylic medium just for grins. It gives a softer look but still has the motion created by the technique.

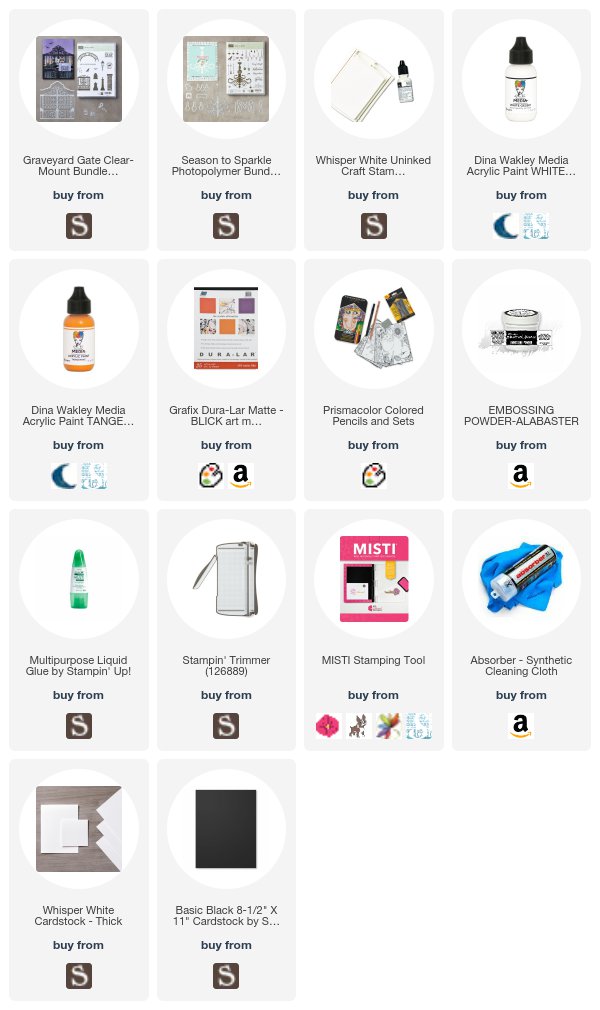
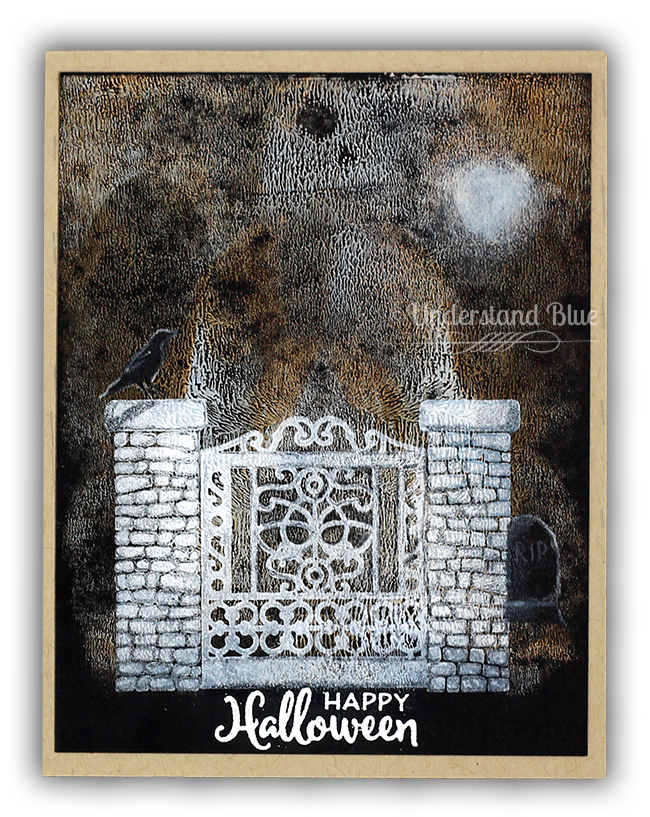
And finally - here's one I did for her challenge sample - with a more spooky feel. I used orange and white paints on black cardstock. I stamped the gate in white and shaded with colored pencils, and then stamped the raven and the gravestone in black and shaded with a white pencil. The moon is fingerpainted. I love the teeny dendritic texture on this background. Looks like miasma, which is a word I've always wanted to be able to work into everyday conversation.

This was such a fun printing session. Well all printing sessions are fun - but I really enjoyed trying something totally new - exactly what I needed this week.
So speaking of things I needed - with the help of one of my team members - I have created a database of Stampin' Up! sentiment stamps and dies. Sometimes when I am designing projects for in person or online classes I sit down and I think - do I have a stamp that just says "hi"? And there's not a good way for me to get the answer to that without taking tons of time to flip through catalogs or look at all my stamps, and I just don't have time for that.
So I have a searchable Google Sheets Database available that has the current catalog and the holiday catalog, and this database will be updated with each new catalog from here forward. It has the page # in the catalog, a column for whether it is a stamp or die, the name of the stamp set, the actual sentiment, and what catalog it's in. You can use ctrl+f to search for whatever sentiment you're looking for.
If you purchase access to this, you will have access to all future catalogs added to the file - for as long as I'm maintaining the database. I've already saved so much time using this I cannot begin to tell you how happy I am about it.
To purchase access, you can use the button below. The email address on your PayPal payment will be the one granted access to the google document. Enjoy!
So now - enjoy my very laid back experimental video on this fun process. I love being surprised every time I lift the cardstock. It's just magic.
Oh - and you can win my Arkon giveaway for October one of two ways. Simply place an order in my store using host code M2U9DE6V - and you will be automatically entered once.
Then fill out this form below and you will receive one entry - or a second entry if you placed an order. Entries close October 31st at 11:59 PM.
Loveyameanitbye.


You are so brave! Thanks for taking risks so those of us who are more trepidatious can use a proven technique. Love how varied the looks are and I am with you....any printing session is a good one and always full of surprises!
ReplyDeleteThey look great! I love that you can't exactly plan the results, and no two are alike!
ReplyDeleteYes you are right about people being afraid of their tools - I bought a gel press plate after seeing you had used it and I haven't tried it - I can't remember your first endeavor with it - so it sits with other "things" that haven't been used either ! You are truly an inspiration - now I just need to try that plate ! No use being a fraidy cat anymore !
ReplyDeleteThis makes me ridiculously happy! :D
ReplyDelete