I remember way back when we still had lots of local scrapbooking stores in Austin in the early 90s, I'd go shopping in them, and at the back of every store was a ginormous die cutting machine with huge shelves of big shape dies.
The machines could be rented by the hour, and there were always busy scrapbookers back there, cranking shape cuts out of these monstrous machines.
I thought it was ridiculous, frankly. I was a stamper, and I did not even come close to understanding why someone would want a blank bird shape or letters. PFFT - silly, I say! Give me stamps and inks!
Little did I know that the advent of the personal die cutter was slouching toward stampers everywhere.
Fast forward eight years or so, and I remember how excited I was when Stampin' Up! added the Big Shot to the line up and my obsession with die cutting began.
Then it evolved so quickly from the hulking Bigz dies to thin metal dies, and the wonder of storing so many in such a small space was born. Then came interactive dies, word dies, dies that emboss and cut, cross-stitch dies, box dies - ALL THE DIES.
I can't imagine life without them now.
One of my favorite things about dies, is that you almost always get two cards for one cut. Cutting a circle? You also get a frame! Cutting a frame? You also get a circle! It makes everything go farther - paper and design.
So this is my last guest post at MFT for the season, so I am bringing you a die -cut two-fer.
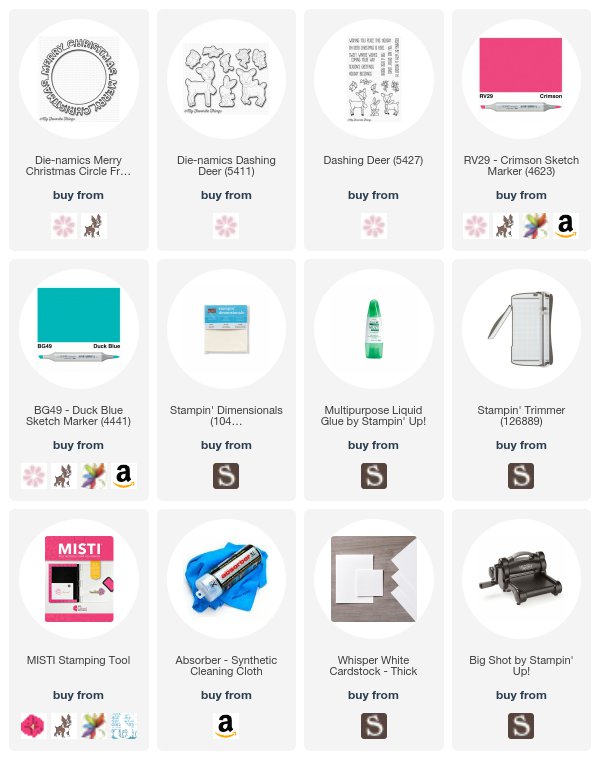
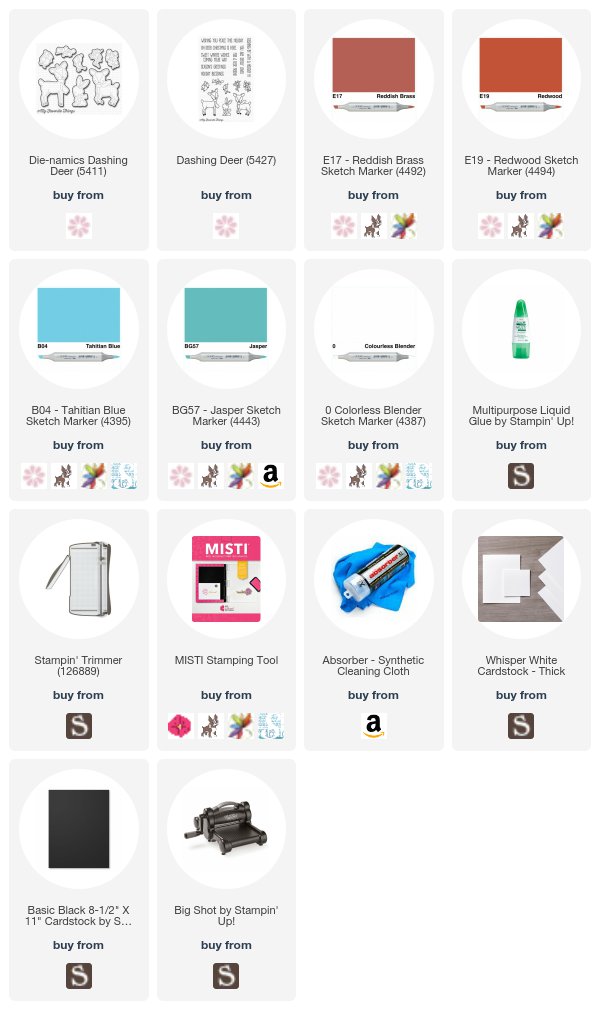
First up - I cut the Merry Christmas Circle from a card panel of Whisper White, being careful to center the die. Then I stamped the leaves and berry image from Dashing Deer all around the edges of a white card base, and colored them with Copics. With the same colors, I colored the little birdie from Dashing Deer, die cut him, and popped him up in the center of the card with a mini dimensional. I glued the die cut circle down around the bird.
That bird cracks me up! I love a good hat wearing bird.
So next, I took the panel that had the negative of the circle cut out of it, and I inlaid a black die cut into that! This created another negative panel of black, so of course this could go on forever in some kind of die cutting Greek tragedy, but I ended it here.
Then I colored and cut the little jumping deer from Dashing Deer and popped him in the center of the inlaid greeting.
Fun and simple cards if you love to color as much as I do - these were not fancy coloring at all - no shading on the first one and just two colors - and the only thing I did on the deer was use the colorless blender to lift little spots on his back.
It's been so fun guesting at MFT - hop over to their blog to see what they have in store for you this week - and then you'd better start thinking about Thanksgiving - it's almost here!
I think I told you this, but I've had some weird synchronicity with my audiobooks this year.
I listened to Killing Lincoln (despite the author-narrator's inability to distinguish between Calvary and cavalry) during the exact time period of the assassination (completely by accident) and freakily - 2017 Easter, etc. lined up with the dates of Easter of that year. Immediately after that, I listened to Killing Kennedy, and happened to be listening to it when I went to Boston to work at the Collins show, and got to see the Kennedy Presidential Library with my friend Libby while I was there. Were I in charge of the world, all children would learn history with an audiobook and a trip to the locale.
But then this month, extra weirdness with my books.
I was in a bit of a drought with my books, having spent the 3 billion dollars I allow myself every year in Audible credits, and so I have been forced to wait the weeks and months it takes to get audiobooks through Overdrive from my library. Talk about painful. (If you want to spend 3 billion dollars - they are having a special on Audible right now - I'm not eligible - so go on without me - but you can Try Audible and Get Two Free Audiobooks so you can try the two I'm about to talk about.)
I filled my cart with random books I didn't even read reviews on, but fit my requirements of non-fiction or true crime in audio format. The first one was FASCINATING, and it was the story of a quite famous woman I knew nothing about. The events took place before I was born, but you'd think I'd have heard of this scandalous and intriguing story they told in The Reporter Who Knew Too Much. It had everything you could want in non-fiction - Kennedy assassination intrigue, Marilyn Monroe's death, Frank Sinatra, Sam Sheppard, the mob, celebrities, and the suspicious death of the main subject - Dorothy Kilgallen - an outspoken glass ceiling breaker who made more than a few enemies during her career. I really loved this book. I love all unsolved crimes - someday I'm convinced I'll solve one.
But then, I went on to the next one that became available from my library - again, a desperate and uninformed choice by an audiobook addict. This book is called Incendiary. It tells the story of "the mad bomber" who terrorized New York for nearly 20 years. It's an absolutely fascinating story - and tragic in more ways than you'd think.
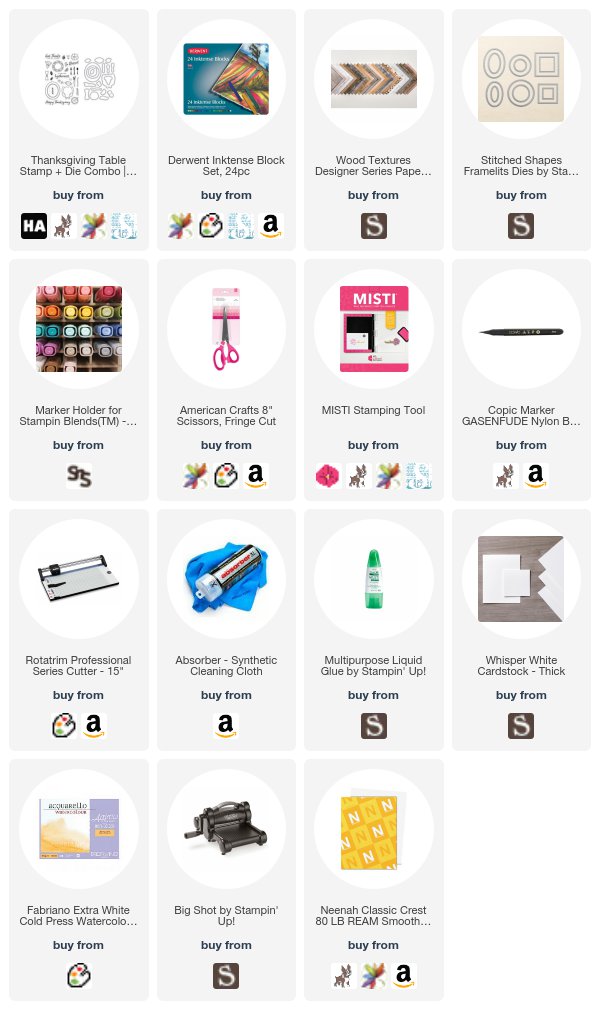
Imagine my surprise when both Dorothy Kilgallen and one of the papers she worked for had a prominent role in the story. Crazy coincidence since I'd never heard of her until that prior week. If you're wondering what that phenomenon is called - it does have a name - and it's called the Baader-Meinhof phenomenon. Seriously - I'm not kidding. Look it up. Or just read this blog post I wrote about it. So I thought I'd inflict some Baader-Meinhof on you since Thanksgiving is coming. You're going to be sitting down to eat your turkey or tofurkey and you'll think - MAN - that's weird - I totally just saw this on Lydia's blog! You can thank me later. I made this card for one of the Falliday Fest challenges that is all about that holiday food. Since I don't like sweets, I went for a savory treat theme. I had one of my Derwent Inktense block scraps on my desk that I knew would make a terrific table runner for my Hero Arts turkey. So I used my fringe scissors on either end, and then Copic colored and cut out all my images, and used the Stitched Shapes framelit for the sentiment. The background is the Wood Textures DSP - isn't it perfect? Also - for those of you who like to color the edge of your images black and are frustrated by having Copics bleed into the image from the edge - try my new favorite - the Copic Gasenfude Nylon brush pen. It doesn't bleed into the image, and it has a very pointy, fine nylon brush similar to an aquapainter but firmer - so you can get in the tiniest nooks and crannies with it. I'll try to do a video on that soon. I'd tried Microns, Pitt, everything, and this one is definitely my favorite edge blacking pen. So here's my little Thanksgiving table. Please keep in mind this took me like two hours to lay out. I kept moving all the elements around until I had completely annoyed myself and then it all clicked.
Now speaking of alcohol markers - Stampin' Up! is back with Stampin' Blends - their new alcohol markers. These are available on November 1st, and there are 24 markers - a light and dark marker in 12 colors, listed here, as well as a color lifter, an ivory and a bronze marker for skin tone work. You can buy the markers individually, or in two marker combo packs, or in a 26 marker set which includes the color lifter as well as ivory and bronze. Also - these can go into a starter bundle, so you can get them at a huge discount that way, and then you could have fun in my team group! No strings attached, no selling required. There's a sweet kit that goes along with this introduction, and it's while supplies last. Check out all the details here.
And don't just throw those babies in a drawer, either! Stamp-n-Storage was ahead of the game, and has the perfect storage system for them, which is now painted blue and sitting on my desk. I bought two sets of the Blends - one for use in classes, and one for my personal set. And now through Monday - you can get 15% off at Stamp-n-Storage with coupon CREATE17.
Look how adorable that is. And perfectly small footprint that holds a lot of markers!! You can see them here - there are actually two different size options, as they always try to work with standard IKEA units as well. I have room to grow, which is my favorite thing about any storage solution. I clearly will have to get two more color lifters so my eye will stop twitching at that empty spot.
Speaking of eye twitching - I finally found a really old SU set I was looking for for a reasonable price on Ebay - and there are two more out there if you are interested at reasonable prices, and also a few for crazy prices.
I have many tutorials to shoot and write this weekend, so there's some fun stuff coming up - hope you have some coffee time to watch as the clock ticks down to turkey day.
I got to spend last weekend with some amazing friends who like to get together and craft a few times a year.
It's an unstructured weekend - you can just bring whatever you want to work on, and everyone shares their supplies and stamps. Get up whenever you want, go to bed never, eat, drink and be merry.
I had just wrapped up Falliday Fest and I really, really needed a break, so I brought three Games magazines, some watercolor and a sketch book and I really just chilled and worked on puzzles and hung out with people. It was just what the doctor ordered after a month of spreadsheets and technical work in the Splitcoast gallery and on the site. A true suspension of reality for five whole days. Those times are like a reset button, and now I feel like I will survive everything that comes with the ten minutes Dina and I not so affectionately call OCTOBERNOVEMBERDECEMBER.
I really love all the friends who were there and was very sad to leave them, so I thought one of the cards I made for Falliday Fest would be a perfect card for today.
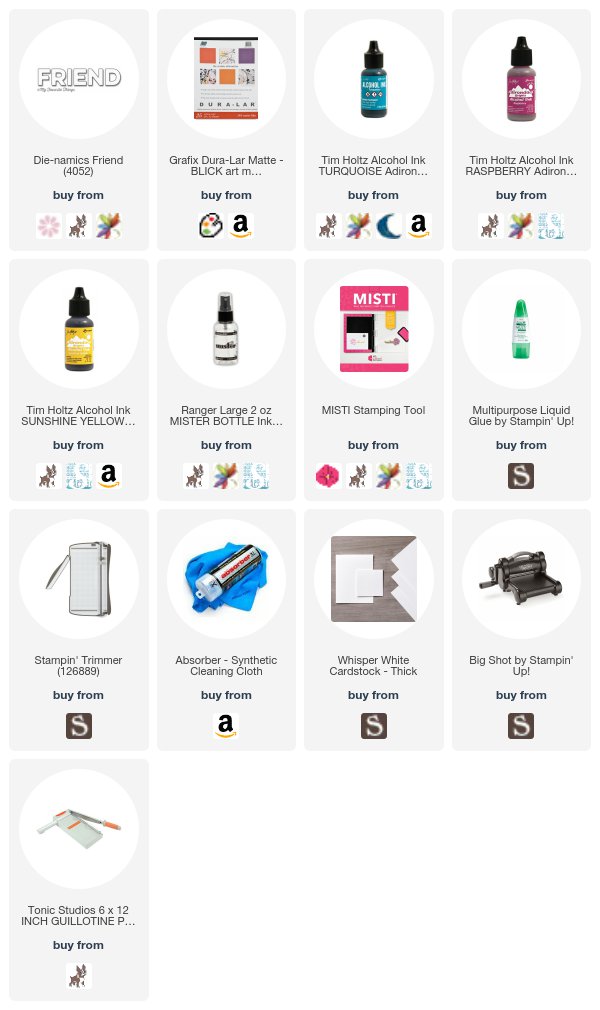
It started with the leftover Duralar/Alcohol ink play time pieces from the video I did here.
I cut one down to card front width, and then die cut it with the Friend die from MFT. They were kind enough to give me this die when I was at CHA and I've used it for no less than 50 cards since then. But this one is kind of my favorite. I cut five more from Whisper White and stacked them up and then glued the Duralar back on top for a subtle eclipse. These stacked die cuts look so amazing in real life.
This one is the one in the video where I used the spritzer with rubbing alcohol to get more granulation in the pattern. It looks like a mineral deposit. So much fun.
Here's the video again, in case you missed it.
I hope you get a chance to just chill with friends before the holidays are upon us! I highly recommend it.
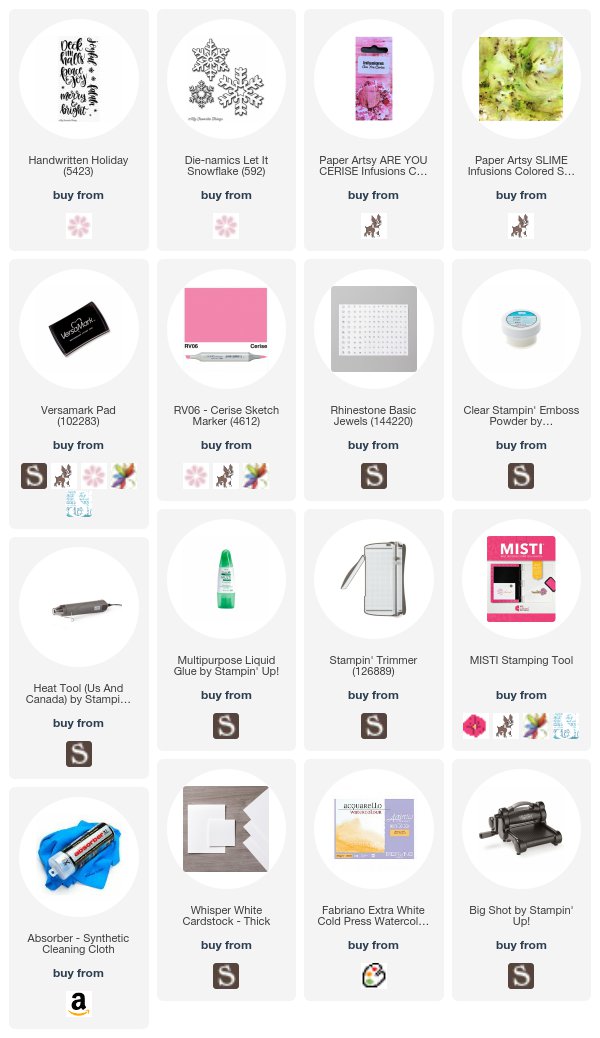
I'm back with my second guest post for My Favorite Things and I have a very simple, typically Lydia card to share.
It's typically me because it riffs on red and green, which I just can't do. So I chose CERISE AND SLIME. :)
Those are the actual colors of Paper Artsy Infusions I used. What's funny is - after I stamped the beautiful scripty sentiment from Handwritten Holidays and embossed it, and I chose those two infusions, I grabbed my hex chart for my Copics to find a match to color the rhinestone with. I held it up against the pink and found what I thought was the closest, grabbed the marker, and guess what the name of it was? CERISE. Winner, winner, chicken dinner! The snowflake I cut with the Let it Snowflake Dienamics.
I usually sprinkle the infusions first and then spritz them, but you can spray first and sprinkle too. I just feel like I can control where the color goes better by sprinkling first.
I keep a paper towel around too - lifting overly intense puddles of color really can give you beautiful results with infusions. They are so fun and addicting.
You could crank out a lot of really fun, bright and unique Christmas cards with this type of background in no time. Hence, giving you more time for PIE.
I am very excited to be a guest designer over on the MFT blog today! I adore Kim - the owner and have an immense amount of respect for what she has built at MFT. Lots of politicians can talk about creating jobs, but Kim has actually done it. Many times over. She has an awesome team, and I'm proud to call this generous, kind, funny, soft-hearted and fierce woman my friend. We have a lot in common, and one of those things is a crazy love for all creatures great and small. She has a large assortment of animals in her "menagerie" and I keep threatening to show up and move in and PET ALL THE THINGS. I plan on stopping by next fall when I head to Orlando - I've always pined to see her store and get to spend more time with her than the small moments we have in the chaos of CHA.
So I'm very excited to be their guest today. I started with what is really a nod to Kim's soft heart for the critters - a furry holiday card. AND, I used something fuzzy to create it! We had a fun challenge during Falliday Fest to wrap a fuzzy yarn around an acrylic block and then stamp with it - and it was a hoot. I tried two different kinds of yarn, and you can see the difference in the video below.
The background was a Gel Press print from a printing session I did with my sister. I just grabbed my hex chart and found Copics to match for my little blue dog. He's so cute! Then I used the Polar Pals Dienamics to cut shimmery stars and it was done! So here is a very quick video on the yarn blocking process - enjoy!
I'm super excited today to be taking part in Justine Hovey's 4th annual 12 Days of Christmas Video Hop. I love Justine's YouTube channel and it's a real honor to be included this year.
The way the hop works is you will go to YouTube and watch my video (or watch it here and then click over.) In the description of the video, I will link to the next person in the hop. You watch and comment on all the videos on the hop, and answer the question that each one of us ask somewhere in our video - and you will be eligible to win one of Justine's daily prizes. The hop runs from today until November 4th. Winners will be announced on November 7th on Justine's channel, which is also where the daily giveaways will happen, including shopping sprees from Simon Says Stamp, a MISTI and more!
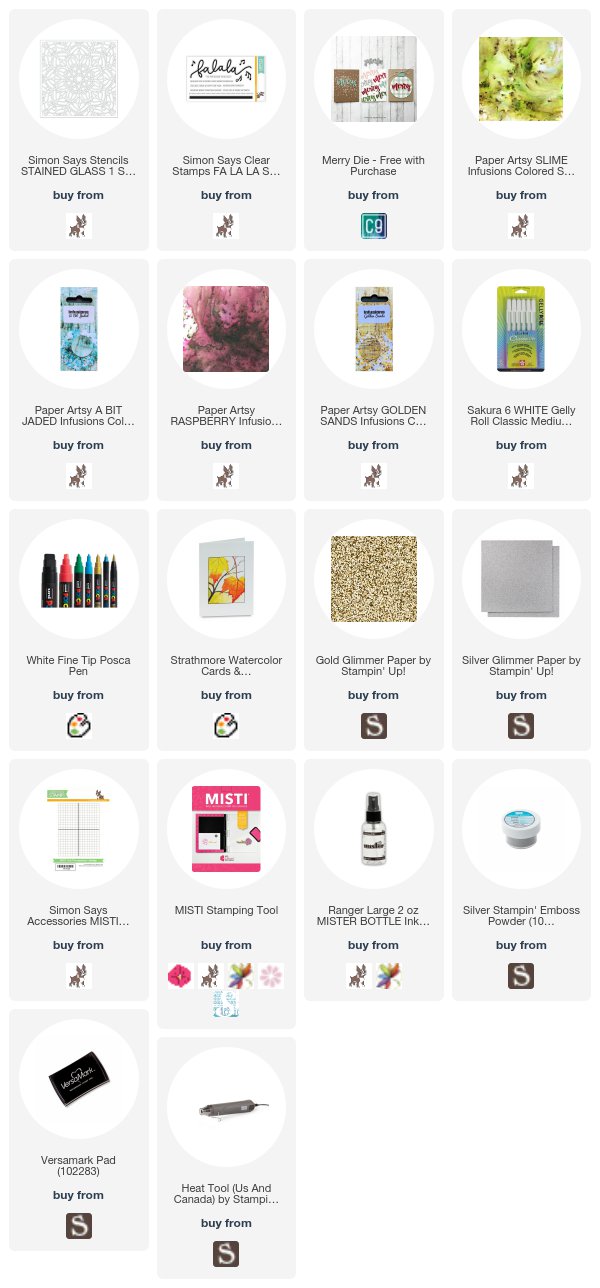
I wanted to do a project where you could get two cards from a single process, since the holiday cardmaking season is upon us, and we need to be efficient!
So I have a very fun stencil printing technique where you get two very different images when you are done. It's very quick - my video is less than five minutes, and except for the sped-up outlining, is in real time - you will love how fast you can make something very splashy. So here are the two cards I got from the process. First - a masked stencil technique for a stained glass effect using the Stained Glass 1 stencil and Infusions. Hard to see the shine here, but the sentiment from Fa la la is embossed in silver.
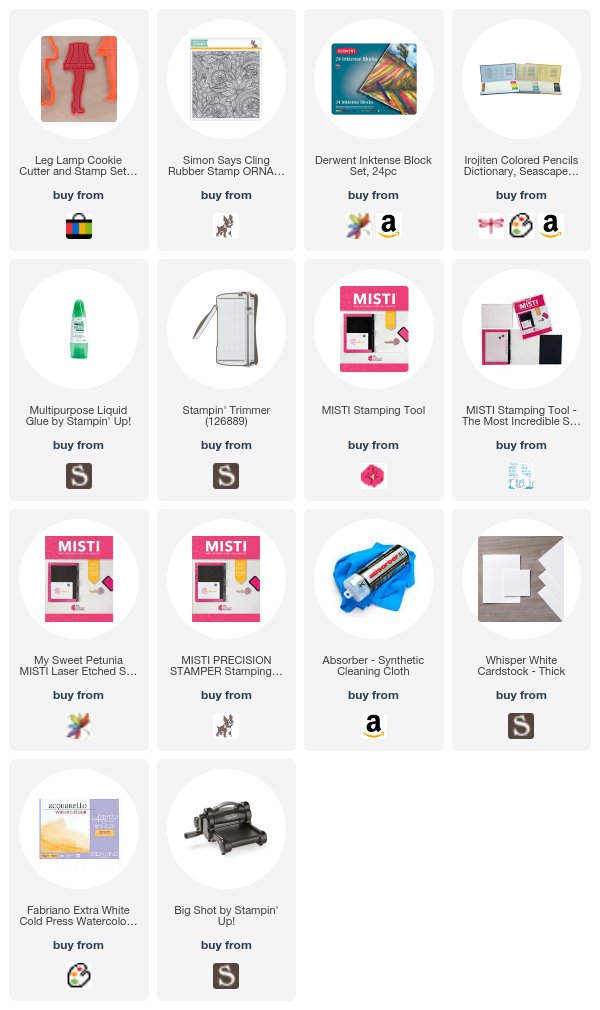
Lori's second challenge was themed from A Christmas Story - "you'll shoot your eye out". We could choose to be inspired by red, by a deer, the Red Ryder bb gun, by the movie - whatever.
Instantly I scoured the internet for a leg lamp stamp. Sideshow Stamps used to make one, but it's pretty rare these days, even on Ebay.
Having just finished my retreat, with master cookie maker Mel as our chef, I thought maybe there was a cookie cutter out there. AND THERE WAS!! I bought this one on Ebay because the lamp design wasn't recessed into the cookie cutter like these are, so I knew I could use it like a stamp.
I took a leftover Derwent Inktense Block background, and went to work. I gently applied white acrylic paint with a foam brush, and then stamped it on the print. Voila! When it was dry, I used my new Tombow Irojinten pencils to shade the monstrosity. It completely cracks me up!! I'm glad the Christmas Story marathon season is approaching! I paired it with a sentiment from High Tide.
Does that not just put you right in the holiday mood???
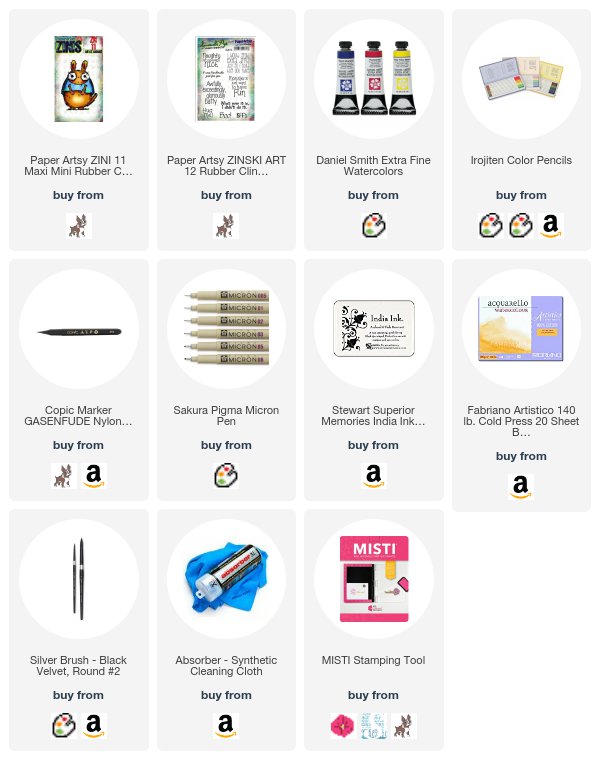
One of the Falliday Fest Challenges was to use leftover pieces from your desk - UFOs, as my friend Leslie used to call them - "unfinished objects" - to make your card.
I had a sweet little memory on my desk from the last night of post-retreat shenanigans in Austin last month. Most people stay an extra day or two in Austin and we do touristy things and then people start leaving on Tuesday, which is very sad.
We'v formed a tradition though of having coloring nights in the lobby of the hotel where everyone stays - they are very fun and relaxing.
So I had watercolored this little creature that last night and just left him on my desk to remind me of my friends and how much fun we had, and I thought he'd be perfect for Barbara's challenge.
Leftover adorableness.
I stamped him on watercolor paper and then watercolored him with Daniel Smith watercolors that night.
To make him into a card, I accented him with my new Irojiten pencils from Tombow. These are really nice pencils, and I especially like the fluorescent range - they make beautiful highlights on top of watercolor.
To get him onto the card, I stamped the image again to get all his little fuzzy bits down, and then I just fussy cut him with out the fuzzy bits, and glued him on top of the image on the card base to be reunited with his fuzzy bits again. The sentiment is also from Paper Artsy - I bought the set for another of the sentiments in it, but this one was perfect for my startled little critter.
Clearly he's innocent, right? I mean who does something bad in a HALF SHIRT for goodness' sake?
I love their quirky images. The world needs more quirky. I'm trying to do my part. Hope you're having a good weekend - I'm crafting with friends this weekend, so check out my Instagram account for those photos.
We went to see Guardians of the Galaxy II not too long ago.
I'll be honest with you. I'm not a big fan of the IIs. Or the IIIs. Or the 47000th "sequel".
If you're not Agatha Christie, you're not pulling this off, people.
But for some reason, I agreed to go. I loved the first one.
The second one was painful. They maintained the hilarious dialogue and completely ruined it with the overly sappy, excruciating father schmoopiness that was totally horrid. I almost barfed during the scene where they were tossing the energy ball back and forth.
But at the end of the day, what that (I refuse to say "they" - because together they are only about 1.37 movies) movie is about is friendship.
The sweetness in the movie was the willingness of those crazy misfits to go to the ends of the earth to protect each other. It's the purest, sweetest theme you could imagine.
And no one executed it better than the cynical trash panda - Rocket.
You cannot not love that guy.
Real life trash pandas are not nearly as fantastic. You can read about one of the most dramatic moments of my life, featuring trash pandas, here. (Oddly enough that card was about friendship too - the universe is funny sometimes.)
Imagine my embarrassment when last Christmas, I was at my sweet neighbor's house (who, by the way, is now a famous mystery writer - her first book - a collaboration with another neighbor is called Shrouded) for a holiday party and a horrible truth was revealed. If there had been a score for this party it would have been dark, suspenseful music right up until I learned the truth.
We were chatting about neighborhood critters - our coyotes, foxes and roadrunners, and my neighbor says "OH! I solved a mystery!" (Since she's a mystery writer now, this is hilarious in hindsight. For all I know, this launched her career.) "What?" I said - thrilled that there was a mystery nearby. She says "for months, I woke up and would find a ziploc bag in my backyard, along with a few empty cat food cans."
My heart sank. When we feed the cats, we put the empty cans in a ziploc so they don't smell. I knew where this was going.
She said "I couldn't figure out where this was coming from - every morning, like clockwork - a bag and empty cans. And then I realized - a raccoon was going into your trashcan, retrieving the bag, and hopping over the fence to lick the cans with total privacy." OMG. So not only were the little trash pandas raiding our garbage can every night, but they have enough of a sense of right and wrong to KNOW they couldn't eat the purloined trash at the scene of the crime, and so they hopped the fence!
The combination of hilarity and shame was overwhelming. I really want video of the little buggers climbing the fence with a ziploc bag, but also I really don't want redistribution of my trash into my poor neighbor's yard.
I much prefer the Guardians of the Galaxy version of the trash panda - so that's what I'm bringing you today.
My friend Rebecca's Falliday Fest challenge is coordinated with one of our four card drives. This one is for Forgotten 4 Paws, which is perfect for her, since she is so involved with animal rescue. She's my hero. Forgotten 4 Paws wants pet themed blank thank you cards, so that was the challenge, but Rebecca's twist on it was to add a felt item - needle felted, regular felt, whatever.
I had the perfect thing! I had just gotten the Felt Friends kit - Woodland Critters and I had been dying to give it a try. I love felties, I love stitching - I find it so relaxing - but I mostly like little furry creatures, and those are in abundance in the kit. Now the instructions in the kit are for real stuffed felties, but I wanted to make one of their critters in a flat version for a card, so I went straight for the trash panda for her challenge. I love the punch out templates in this kit - it makes it so easy to do. I traced the dark felt pieces with a white Polychromos pencil, and the light ones with my favorite Staedtler pencil. I stitched all the pieces together as well as the edges with the floss in the kit and it only took me one episode of Breaking Bad. The felt has nice crisp edges, so there's no fraying or fuzzing out and it was really easy to stitch. The needle that comes in the kit is more kid-friendly and larger - I wanted to do finer stitching so I used a tapestry needle. How cute is this little guy??
I glued him to my card with hot glue so he's not going to escape and rifle through my trash any time soon. The sentiment is from So Many Shells.
I NEVER do unboxing videos, but this kit was too cute not to show you - the box itself is actually permanent storage, with a magnetic closure. The instruction book slips in the front - and to be able to keep the templates all together, after I punched them out, I adhered 3M post it tape to the back of the card, so that when I popped the templates back in they'd stay on that sheet and not be loose in the box.
Now one more thing that is on my supply list is my new Ipoint pencil sharpener. Gina Krupsky was using one of these at a retreat last year and I fell in love. It sharpens your colored pencils to weapons-grade and it has an auto stop feature so you don't over sharpen or waste pencil. It can be used as battery operated or with the cord. I love it so I thought I'd share.
I can't wait to make the other critters! Now I didn't film an hour of stitching because that would be endlessly boring, but enjoy the quick walk through video - here's what the kit comes with:
Full disclosure - I have a well documented fear of sewing machines. So that was not my attraction to this bundle in the least. As a matter of fact, it's amazing that I could overcome my suturaphobia (I just made that up but feel free to use it liberally) in order to even buy this bundle.
But I did because its geometry called to me like a little siren might.
I saw color and graphic designs in its angular parts and pieces and my mind went instantly to all the gel prints I have on hand for just such projects.
Now because I have a curious mind, I had to ask my friend Mel what this pattern was, because it reminded me of some southwestern motifs I'd seen in New Mexico.
It's called a Lemoyne Star pattern, and it's actually named after the founders of New Orleans - Jean Baptiste and Pierre Lemoyne. It was quickly nicknamed Lemon, apparently. If you want to research quilt patterns without ever having to touch fabric, I really like this blog paired with Mel.
I had pulled a NOT Gel Press print out of my pile specifically for my friend Kelli's Falliday challenge today to use colorful paper pieces and set it aside weeks ago. I'm calling it a NOT Gel Press print because it's actually the cardstock I was cleaning my brayer with during a gel press printing session. Sometimes those are prettier than my prints, and this one was a heart stopper. That heat map look I so love. My sister and I had been printing with some of the fluorescent Cryl colors and I really loved how bright they were.
Now I went crazy on the eclipse technique for this one. It's hard to see in this photo, but there are four layers of cardstock for every piece of the quilt pattern underneath the top colorful layer. So it sticks up quite a big off the cardstock and is very dramatic. Fun to piece together while listening to my latest audiobook - Incendiary - which is fascinating. I thought the sentiment from Feather Together was MADE for this bundle too. Really sweet for an encouragement card.
I'm headed out for a much-needed few days of fun with my tribe, so be watching for shenanigans on Instagram and Facebook, and don't have too much fun without me!
And since I'm late announcing my Hope Bundle winners from this post, AND since this print was created during the printing session for today's card, here are my winners! I'll be shipping your bundles and donating in your names next week! Thank you for your entries - you are amazing people - I loved reading your comments - it was inspiring.
Everyone wishes for peace at every possible human level unless they're just psychotic.
But even the non-psychotic people who wish for peace do so at a macro level, which isn't that effective.
For example - we all want "world peace." Meaning - far too big for one person to pull off, sort of "over there" peace - wherever big conflicts are happening, we wish they'd stop. That's macro peace.
But on a micro level, sometimes we don't even try - and especially online.
Let's take any random post about something very benign. (I'll avoid the number of legs on a snowflake stamp for the time being, since it's so controversial.) Let's say Sally posts something like "I like pumpkin spice lattes" with a colorful fall background - and Sally is happy. Instantly, all the pumpkin spice latte haters fill up her page with comments about how much her PSL has done to increase global warming, harm the pygmy micro-leopard in the Congo, and graphic descriptions comparing the taste of it to the taste of the underside of Voldemort's big toe. This is quite typical in social media - and I'm keeping it clean and mild here for my blog's sake.
This does nothing to achieve peace. Peace is what the like button is for. Peace is keeping some opinions (I know - this is unheard of) unspoken while you acknowledge Sally's free will, dignity as a human, and her joy in enjoying something she loves.
Peace is also not achieved by ranting on a company's Facebook page after you got onions on your cheeseburger.
Peace is not achieved by starting a post with "I never typically post about X, BUT..." What follows BUT is never good.
Peace is not achieved by pointing out in Sally's photo of her lunch with heart emoji in the description that she's using a straw, and thereby again endangering the pygmy micro-leopard. That conversation has another context, and it's not the one with the heart emojis on her Instagram account. That's the kind of conversation that should take place in person, and only among friends.
Peace in the modern world, in my opinion, is missing its other half - quiet. You can achieve a lot of peace just by being quiet sometimes. And I truly do believe that micro peace is how we get to macro peace. And probably also how we help save the pygmy micro-leopard, which I would care deeply about had I not just made it up.
If I were going to have any sort of leopard, it would be a micro one, because leopards are scary.
So I come in peace today. And quiet. The quiet of a little snow falling on a wintery village from a colored sky. The video of this from last week is here.
I think it's safe to say that my friend Julee - the owner of Verve, might have a coffee addiction.
I'm basing this purely on the stamps she designs, of course. If you are also a devotee of the bean, as am I - she has a bajillion coffee themed sentiments, which always come in handy. 27, to be exact.
I had a Derwent Inktense background on my desk when Falliday Fest started, and I thought I'd use the Coffee Cafe dies to cut it into a coffee cup for the holiday beverage challenge by Kathy Baffone. I know that I like to be super caffeinated for the whole Octobernovemberdecember BLUR, and I think you should be too!
I love that these dies come with the heart shaped stopper die. I cut it twice - once in red and once in black and glued them together. I used my MISTI to stamp the Java background from Better With You in a row in Smoky Slate, and did the same with the sentiment on the cup from Always Time in Versafine - I stamped this probably eight times because it's cold press watercolor paper. (Man, I made poorly inked cards before the MISTI.) The sentiment so perfectly fits that cup - it's like they were made for each other!
That's a good holiday wish for anybody. Strong coffee and light burdens. I hope that's what you get.
Speaking of holidays - my newest online class is available now - it features the Santa's Suit Bundle!
Also - on that same page - there's my new, searchable Stampin' Up! sentiment database - check it out!
Oh - and you can win my Arkon giveaway for October one of two ways. Simply place an order in my store using host code M2U9DE6V - and you will be automatically entered once.
Then fill out this form below and you will receive one entry - or a second entry if you placed an order. Entries close October 31st at 11:59 PM.
I know I've been hitting Christmas hard lately, so I am rewinding to fall today with a card I actually finished quite a while ago.
The background is left over from a very fun video I did that you'll hear about soon. But in the meantime, I'll just torture you with this adorable fall card.
I went into shopping overdrive in September and I got a lot of cute stuff. With Falliday Fest happening, I always give myself permission to get some new stamps in here for the challenges - and I swear I do my favorite cards for these challenges. It's a combination of the time pressure, the inspiration that gets me out of my creative ruts, and the fact that there are 30 creative prompts during the event.
This particular challenge was by Lisa Swarm - who pretty much inspires me every day on Splitcoast. She's so creative and such a positive presence. Her challenge was perfect for a fall card - we had to use items that began with the letters in the word ORANGE.
So I used - (O)range Copics, (R)ed Copics, (A)lcohol Markers, (N)ew Neat & Tangled stamps, (G)reen Inktense blocks and of course (E)nergy in my little jumping mouse! We only had to use four of the letters, but as you know I suffer from Full Set Syndrome, so I couldn't quit at four! So Happy Fall, Y'all, from an energetic mouse!
Isn't he the sweetest?
For the background, I just spritzed the Ornate Background Stamp with water, rubbed some Inktense blocks onto it and stamped it onto Bristol Vellum by actually putting the paper onto the stamp instead of the other way around - that's my favorite way to use big background stamps to make sure I get good contact. This one was just a "pick up" print - where I was actually done with the technique, and was cleaning the extra Inktense off the stamp by creating paler monoprints with what's left.
For some reason, I'm drawn to images of animals wearing hats and scarves. Or heck humans wearing hats and scarves. It's just so much FLAIR! But this mouse is especially dapper with his teal and white scarf. He's both formal and casual for his leaf jump.
We actually got a small taste of cooler weather this week - a few days in the 60's which is pretty cool for us. We're usually sweating in October, so it was a nice reprieve before it heats up again and all the little kiddos are melting under their Halloween costumes.
I'm always looking for ways to stretch my stamps - either by using them for a purpose other than what they are intended for, or by the things I pair them with.
When I was trying out Merry Patterns on my team FB live a few weekends ago, I thought it might be fun to give a Hanukkah feel to this winter set, so I set out to give it a general festival of lights feel, just with color and the little candles from the set.
(Now before all the snowflake leg counters revolt and get all bejiggity about the fact that there are only six, not nine candles on my card, please know that I give you permission to repeat three of the candles in the design for a more technically correct Hanukkah theme, however, this is a card, and a feeling, and no one will die with just six candles.)
One of the reasons I love Hanukkah crafting is there's sooooo much blue! So much lighter and prettier than all our heavy reds and greens. So I decided to make these two shades of blue.
The way these layering stamps line up is pure magic too - so clean and precise.
Such a bright, clean bunch of cards you can make with this set! It would make a great one for mass producing holiday cards with the MISTI for sure.
This card is for one of today's Falliday Fest challenges - but you can barely see the challenge portion on my card because - white card problems - but the challenge is to score lines on your card. There are actually two parallel lines scored on each side of the card panel the images are stamped on. Squint really hard and you can see them!
I hope your week has gone well - it's finally Caturday! Enjoy it to the fullest!
You can enter to win my Arkon giveaway for October one of two ways. Simply place an order in my store using host code M2U9DE6V - and you will be automatically entered once.
Then fill out this form below and you will receive one entry - or a second entry if you placed an order. Entries close October 31st at 11:59 PM.
I decided I'd try a twist on the technique using my Gel Press plates today - because normally this technique is done between pieces of glass.
As a person who lives in a house that is 100% slate tiles, and as a person who owns two little wrecking ball felines, I didn't feel like sheets of glass would be in anyone's best interest, so I made do with what I had.
One of the most common questions we get at Splitcoast is "Will X work with Y?", where X is a product mentioned in a technique, and Y is a product that the person owns.
Our answer is always the same.
just try it.
For some reason, people are terrified of their own tools. Think about a Y-Chromosome human going to Home Depot one Sunday morning to buy a hammer. He buys the hammer and comes home and starts hitting things with it.
He does not spend three hours on the internet wondering if he can hit this or that or if he will break it. He just uses the tool.
We as creatives need to just use our tools. Don't make them too precious. Don't worry about breaking them. Don't worry about a right way and a wrong way - JUST TRY STUFF. Some of it will work, some of it won't, and you might ruin some stuff. None of that is a problem. There are always more things to try and nothing you do at your desk brings about the end times, I can assure you.
So for today's guest spot over at Gel Press, I decided just to try it. Try a softer surface than the traditional one for this technique. And no one died. AMAZING!
So what dendritic means is basically forms that branch sort of like a tree. This effect is achieved by squishing paint between two hard surfaces, then pulling them apart and using each side to pull a monoprint.
So I thought what if I sandwiched paint between two flexible gel plates?
It was so much fun. Here's the result of that which is very similar to the classic dendritic printing technique. (All supplies listed below the second card.) Doesn't it look like he's swimming past undersea plants?
Then I decided to try something with Distress Oxide reinkers and an acrylic medium just for grins. It gives a softer look but still has the motion created by the technique.
And finally - here's one I did for her challenge sample - with a more spooky feel. I used orange and white paints on black cardstock. I stamped the gate in white and shaded with colored pencils, and then stamped the raven and the gravestone in black and shaded with a white pencil. The moon is fingerpainted. I love the teeny dendritic texture on this background. Looks like miasma, which is a word I've always wanted to be able to work into everyday conversation.
This was such a fun printing session. Well all printing sessions are fun - but I really enjoyed trying something totally new - exactly what I needed this week.
So speaking of things I needed - with the help of one of my team members - I have created a database of Stampin' Up! sentiment stamps and dies. Sometimes when I am designing projects for in person or online classes I sit down and I think - do I have a stamp that just says "hi"? And there's not a good way for me to get the answer to that without taking tons of time to flip through catalogs or look at all my stamps, and I just don't have time for that.
So I have a searchable Google Sheets Database available that has the current catalog and the holiday catalog, and this database will be updated with each new catalog from here forward. It has the page # in the catalog, a column for whether it is a stamp or die, the name of the stamp set, the actual sentiment, and what catalog it's in. You can use ctrl+f to search for whatever sentiment you're looking for.
If you purchase access to this, you will have access to all future catalogs added to the file - for as long as I'm maintaining the database. I've already saved so much time using this I cannot begin to tell you how happy I am about it.
To purchase access, you can use the button below. The email address on your PayPal payment will be the one granted access to the google document. Enjoy!
So now - enjoy my very laid back experimental video on this fun process. I love being surprised every time I lift the cardstock. It's just magic.
Oh - and you can win my Arkon giveaway for October one of two ways. Simply place an order in my store using host code M2U9DE6V - and you will be automatically entered once.
Then fill out this form below and you will receive one entry - or a second entry if you placed an order. Entries close October 31st at 11:59 PM.