*Compensated affiliate links may be used at no additional cost to you. No posts here are sponsored or paid.*
It has felt like Friday all day today! I wonder if we are time traveling when that happens.
Speaking of time traveling - we have started rewatching X-Files. It's SO good - right from the beginning. I had forgotten how much affection I have for those characters. And I was SO excited to get an email telling me that Killing Eve is coming back! Loved that show.
Other shows we've been watching are:
- A Murder at the End of the World
- 24 Hours in Police Custody (British crime docuseries)
- Wild Crime: Blood Mountain (A friend of mine was almost a victim of this man)
- Rewatching The Middle - honestly one of the best sitcoms ever - underrated.
- An Unknown Compelling Force (about Dyatlov Pass)
- Lost In The Wild: Hike Into Hell
We watch a bunch of food shows too and last night Chef John (Food Wishes) made these amazing coffee-flavored cinnamon rolls. Here's his video. Watch that and tell me that does not look incredible!
So I have a video for you today, and then, I did a BEAUTIFUL riff on this technique on my live today. If you are on Patreon - you can see the replay of it here. It has a different twist at the end that is so pretty. I'm not sure I'll post between now and New Year's but I will make the results into a card around then.
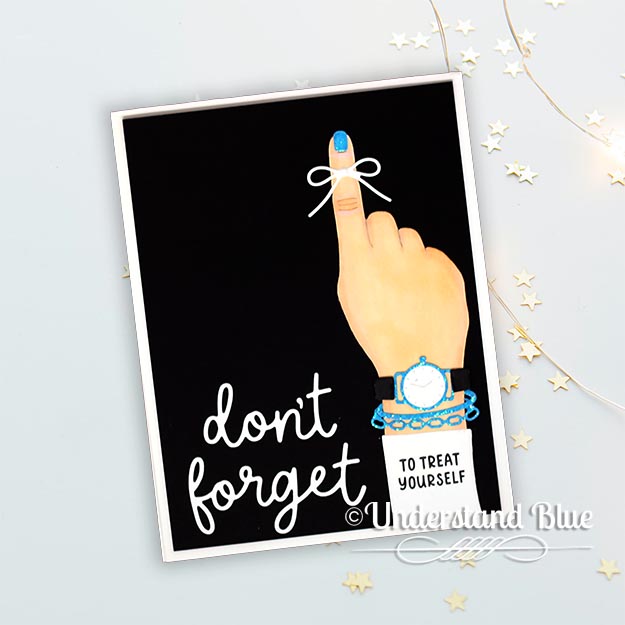
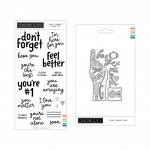
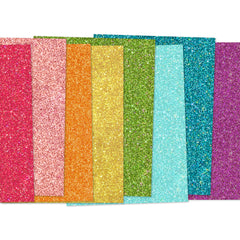
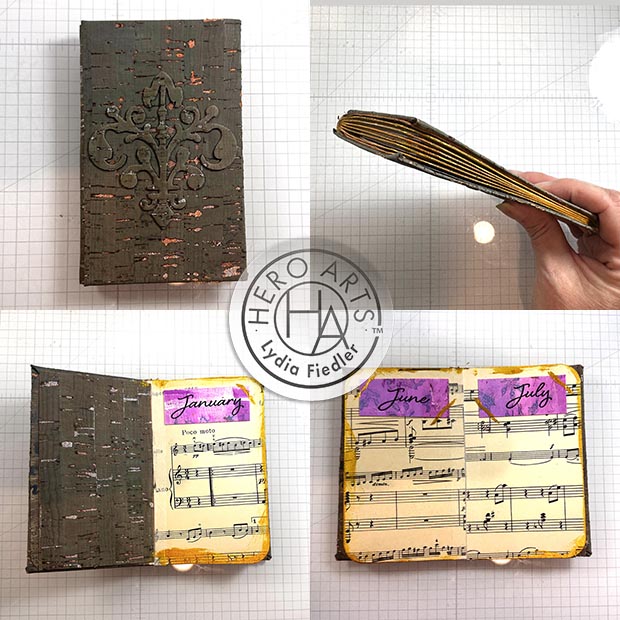
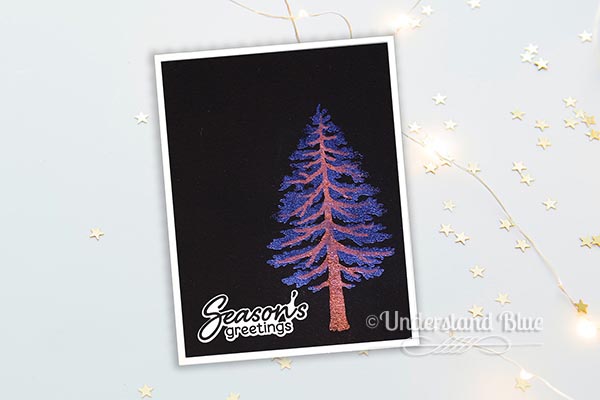
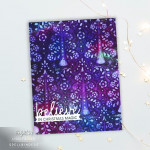
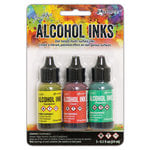
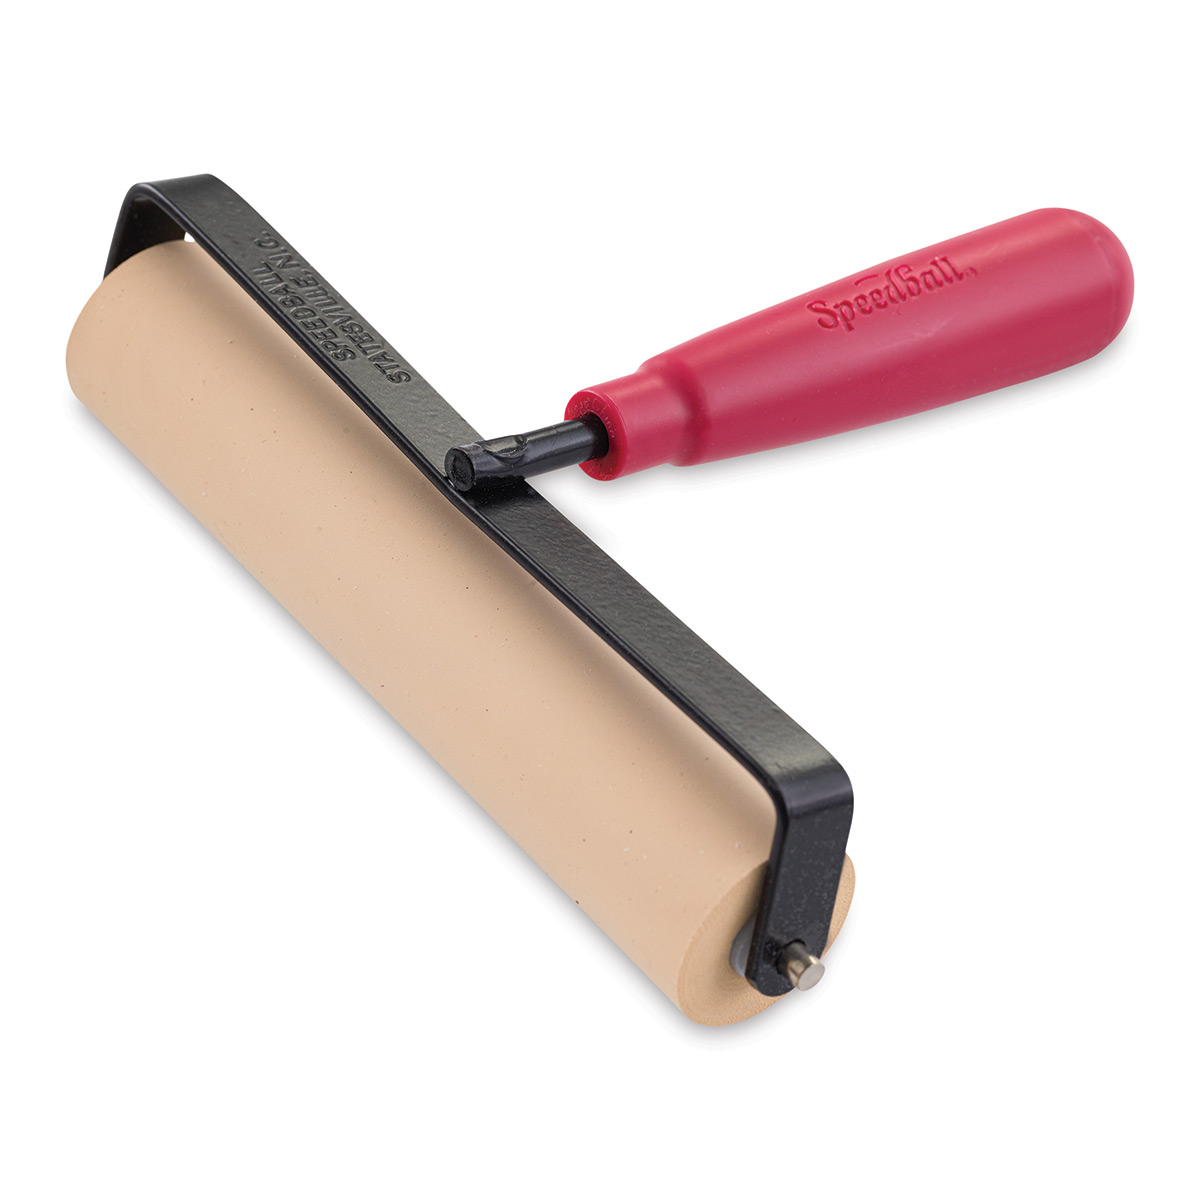
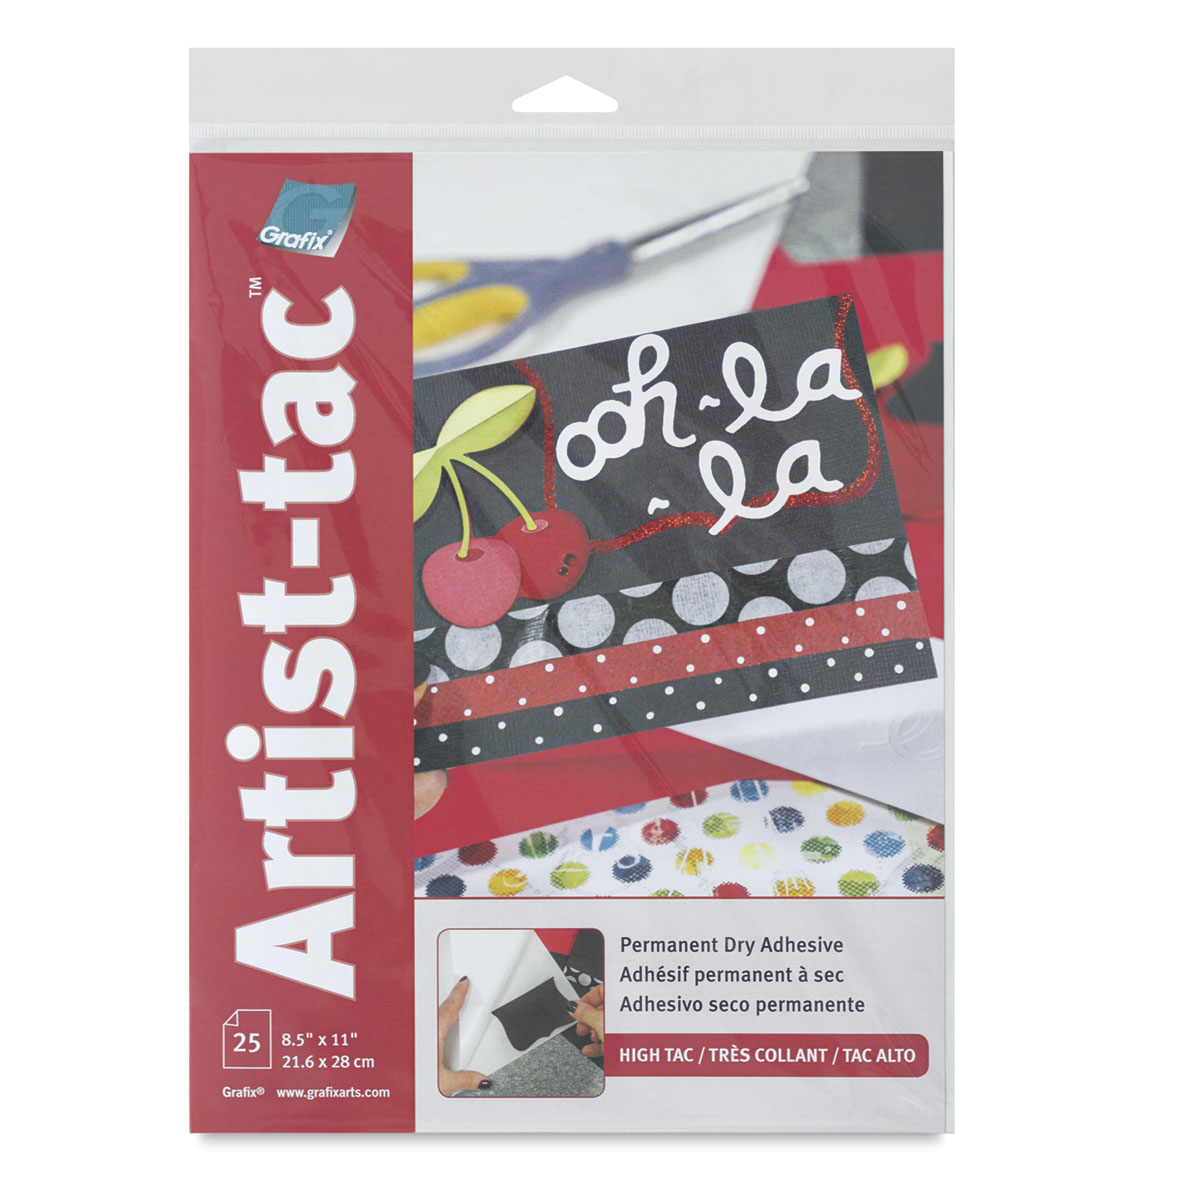
Anyway, I LOVE this technique today - it's a technique I did many years ago with a few tweaks. It's absolutely stellar with this leaf embossing folder. Other things you will need are gesso, alcohol ink, double sided adhesive sheets, a super lightweight foil, a burnishing tool, a brayer, gold paint and I used this word die and blue glitter paper.
If you watch the video, you can come back and look closely at the background for the details I talk about.

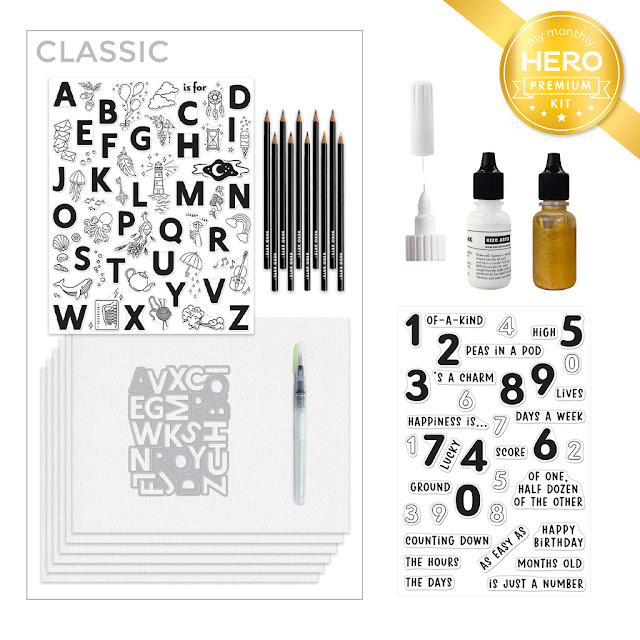
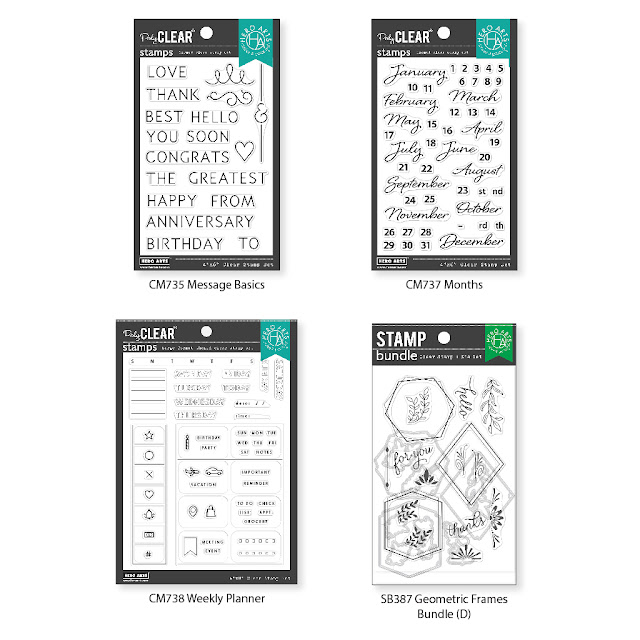
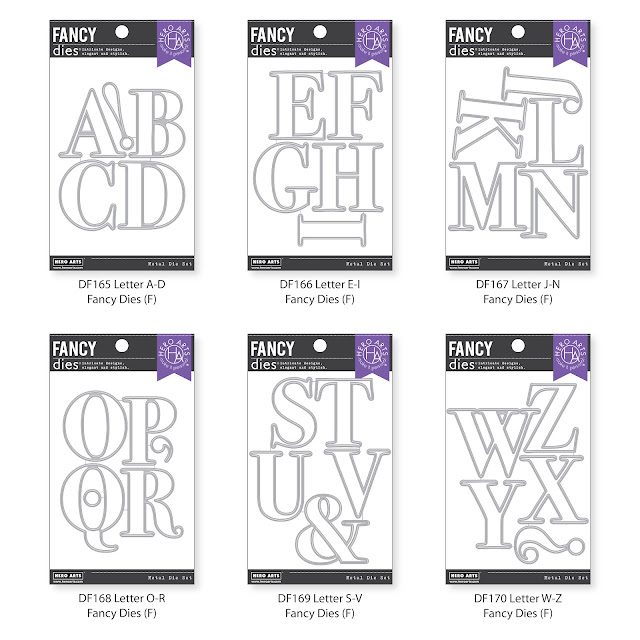
Here are the supplies.
|


Here's the video! Have a very merry Christmas!
Loveyameanitbye
CURRENT COUPON CODES
10% off stamps, stencils and dies at TRHD here with UNDERSTANDBLUE
Bujo/journaling supplies - 10% off with code UNDERSTANDBLUE