
The machines could be rented by the hour, and there were always busy scrapbookers back there, cranking shape cuts out of these monstrous machines.
I thought it was ridiculous, frankly. I was a stamper, and I did not even come close to understanding why someone would want a blank bird shape or letters. PFFT - silly, I say! Give me stamps and inks!
Little did I know that the advent of the personal die cutter was slouching toward stampers everywhere.
Fast forward eight years or so, and I remember how excited I was when Stampin' Up! added the Big Shot to the line up and my obsession with die cutting began.
Then it evolved so quickly from the hulking Bigz dies to thin metal dies, and the wonder of storing so many in such a small space was born. Then came interactive dies, word dies, dies that emboss and cut, cross-stitch dies, box dies - ALL THE DIES.
I can't imagine life without them now.
One of my favorite things about dies, is that you almost always get two cards for one cut. Cutting a circle? You also get a frame! Cutting a frame? You also get a circle! It makes everything go farther - paper and design.
So this is my last guest post at MFT for the season, so I am bringing you a die -cut two-fer.
First up - I cut the Merry Christmas Circle from a card panel of Whisper White, being careful to center the die. Then I stamped the leaves and berry image from Dashing Deer all around the edges of a white card base, and colored them with Copics. With the same colors, I colored the little birdie from Dashing Deer, die cut him, and popped him up in the center of the card with a mini dimensional. I glued the die cut circle down around the bird.

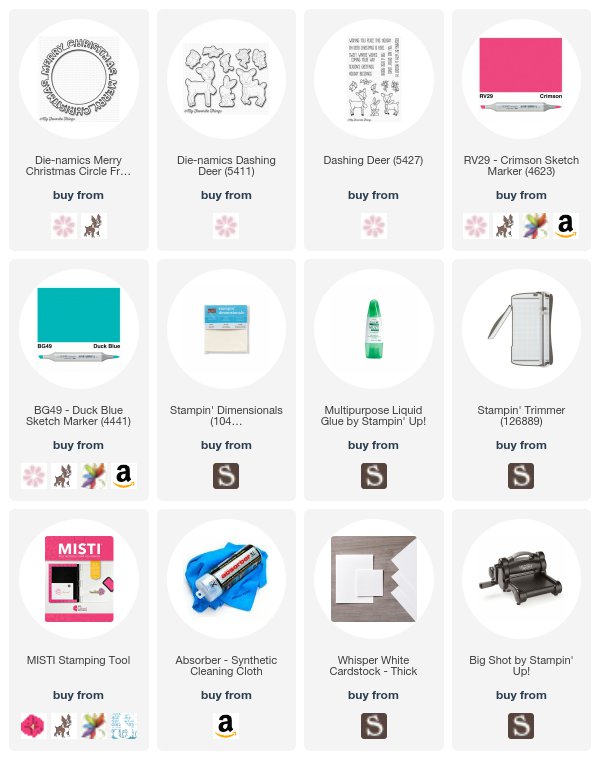
That bird cracks me up! I love a good hat wearing bird.
So next, I took the panel that had the negative of the circle cut out of it, and I inlaid a black die cut into that! This created another negative panel of black, so of course this could go on forever in some kind of die cutting Greek tragedy, but I ended it here.
Then I colored and cut the little jumping deer from Dashing Deer and popped him in the center of the inlaid greeting.

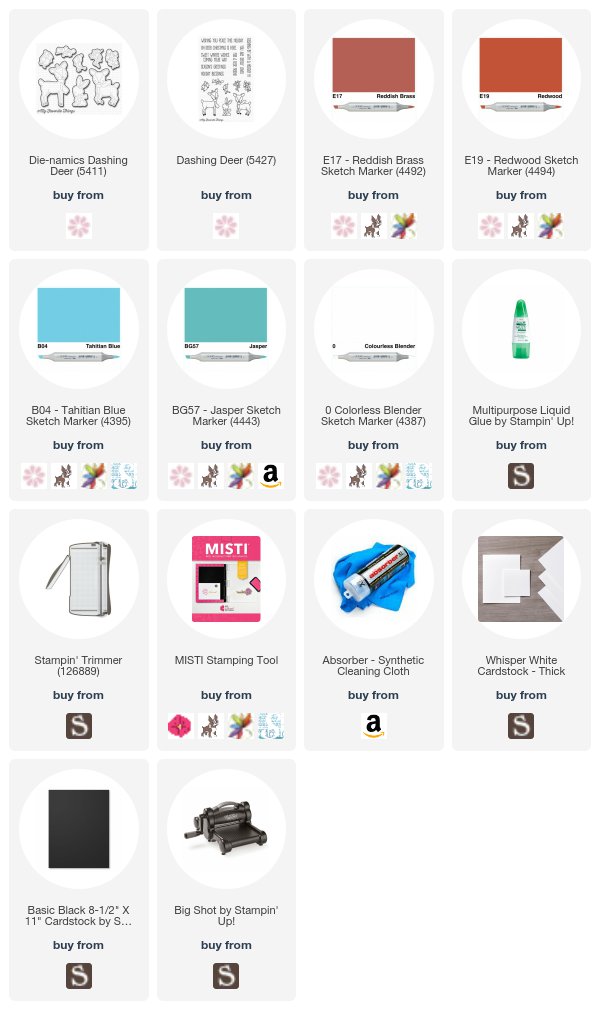
Fun and simple cards if you love to color as much as I do - these were not fancy coloring at all - no shading on the first one and just two colors - and the only thing I did on the deer was use the colorless blender to lift little spots on his back.
It's been so fun guesting at MFT - hop over to their blog to see what they have in store for you this week - and then you'd better start thinking about Thanksgiving - it's almost here!
Loveyameanitbye


And, you would have had to cut around those critters, because there wasn't any die for stuff like that. Thank goodness things have changed — although I am slow to get on that boat!
ReplyDeleteHow clever!!! I love both cards and have so enjoyed having you guest with us. <3
ReplyDeleteGorgeous cards!!! Such sweet images! Always love seeing MFT projects. :)
ReplyDelete