*Compensated affiliate links used where possible at zero cost to you. No posts are ever sponsored or paid.*
Today's project is a blast from the past in a few ways! First, remember this ANCIENT video of mine? Oh my gosh - it's painful to even see these old videos, but I LOVED this technique and I did it at Maker Faire a thousand years ago, which was the biggest event I've ever taught at - so much fun. Also everything about that video is terrible and I'm sorry.
Second - remember parties? At least twice a year, pre-pandemic, I had my crafty garage sales at my house that were also parties. I made appetizers, served drinks and at the December one we had a white elephant style exchange where I provided all the gifts. So I had - have - quite the collection of pretty party napkins, now, gathering dust. Until today!
I used both pieces of the napkin - the pretty part, and the plain white tissue that you remove before using the printed part of the napkin, so you don't even waste that.
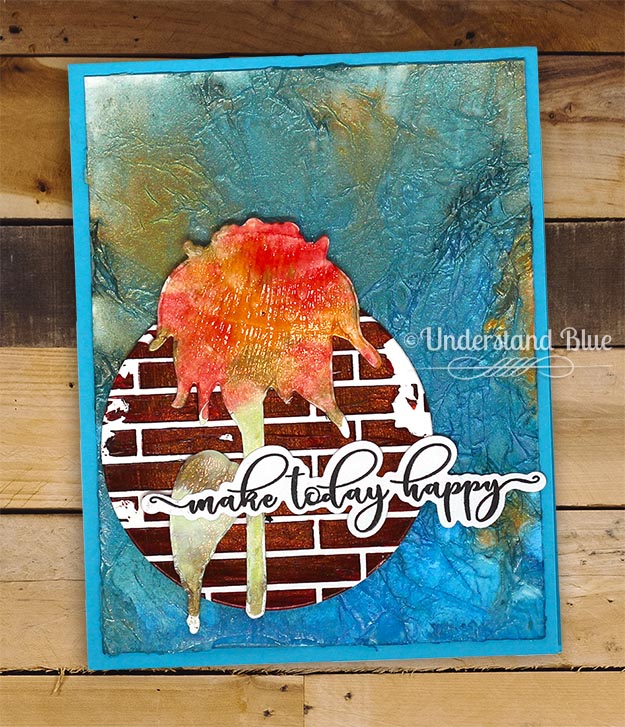
I used one of my pre-cut and scored mini slimline cards, and I don't recommend working directly on your card base, as you'll see in the video. Just do a card panel and adhere it to your card base. I used matte medium to adhere it, to seal it, and then I coated it with paper glitz - it's SO sparkly. I added this word die.
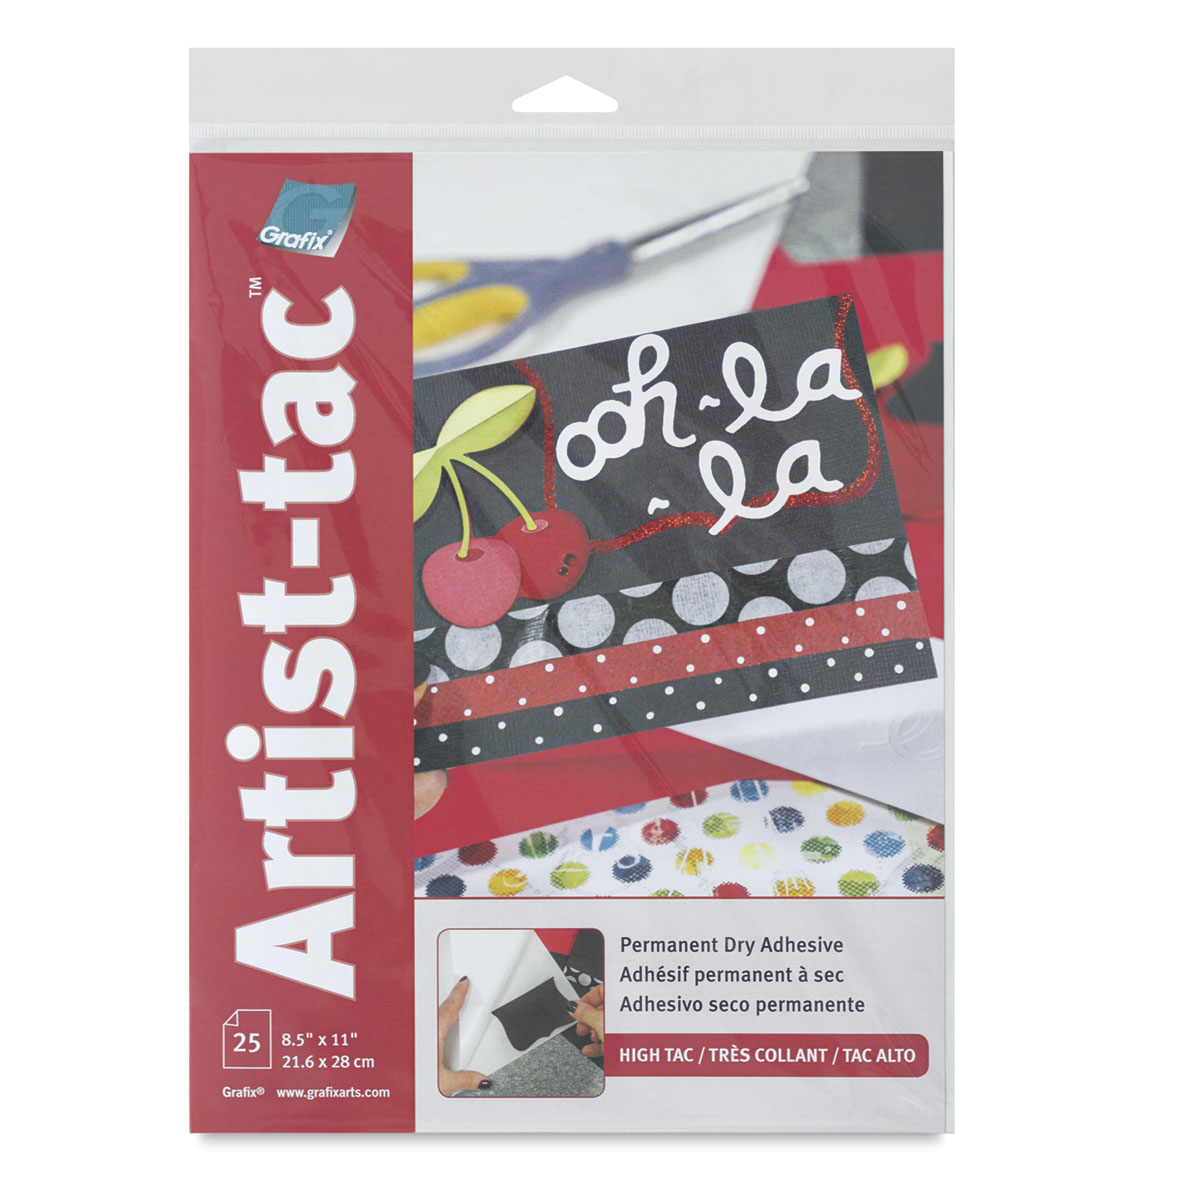
Then, I had a GENIUS idea! I wanted to make a matching envelope with my adorable mini-slimline die, but I knew cardstock would be too heavy. So I took a sheet of artist-tac and coated the napkin with it - why didn't I do that on my card? - and I stuck it to a piece of copy paper. The PERFECT weight for an envelope! Then I coated that with matte medium, and cut it with my envelope die. SO CUTE.
Here's what I did with the tissue piece! I crumpled it up, used matte medium to adhere it, and topped it with this gorgeous iridescent ink in blue and gold, misted with a stylist sprayer to encourage mixing and running of the ink. Then I deep dived the UFO pile from my lives, and found this gorgeous coneflower die cut that I had ironed multiple colors of embossing powder onto (video on that someday). I had this scrap of Paper Glaze - I mixed orange and brown with the brick wall stencil already die cut into a circle, and I added this sentiment.
So here's my quick video on this!
Here are all the supplies I used today.
|
Have you used napkins in your cardmaking or art journaling? I'd love to know. For some reason it's way more fun than patterned paper - maybe it's that nice soft texture you end up with - and the process is super fun.
I hope you're having a good week and staying healthy! We're halfway there!
Loveyameanitbye.
Like this post? Never miss a post by following me!
CURRENT COUPON CODES
15% off anything at Marker Universe or any of their other sites - Understandblue15.
10% off at Sweet Sentiment with code UNDERSTANDBLUE
10% off the whole store at A Colorful Life Designs - LydiaFan10
5% off at LBC here with code LYDIA5
15% off anything at Marker Universe or any of their other sites - Understandblue15.
10% off at Sweet Sentiment with code UNDERSTANDBLUE
10% off the whole store at A Colorful Life Designs - LydiaFan10
5% off at LBC here with code LYDIA5


I have not tried the napkin technique on my cards- but after watching your video I want to! Looks fun and I love how your cards turned out. ❤️
ReplyDeleteI love how you combine different companies to create your masterpieces ❤️ These are all gorgeous 💙💙
ReplyDelete