
*Compensated affiliate links used where possible at zero cost to you. No posts are ever sponsored or paid.*
I have a reputation to uphold in the zombifying stamps department, so today I'm bringing you a sped-up coloring video showing you how I use just a green and purple marker to create most of my zombie effects, adding red and black at the end. SO much fun.
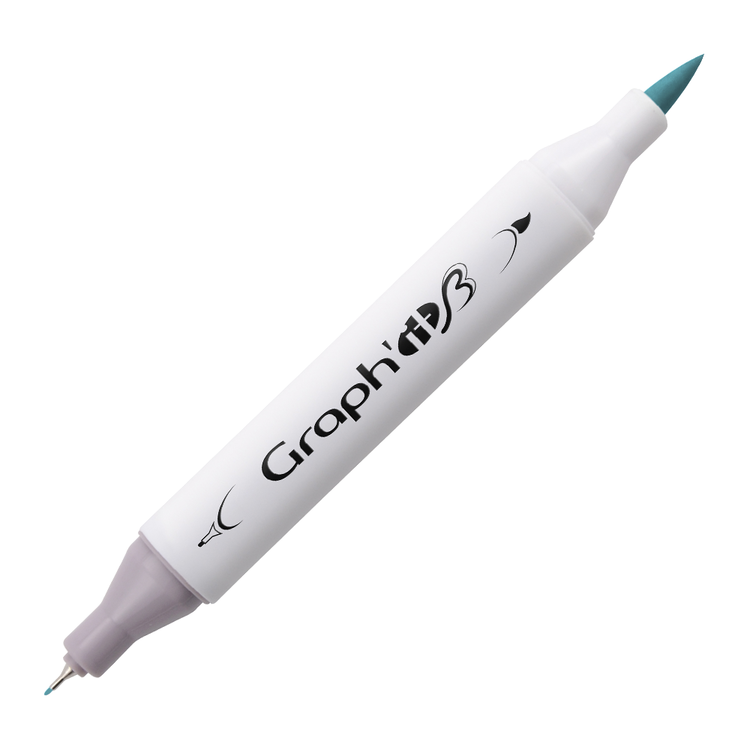
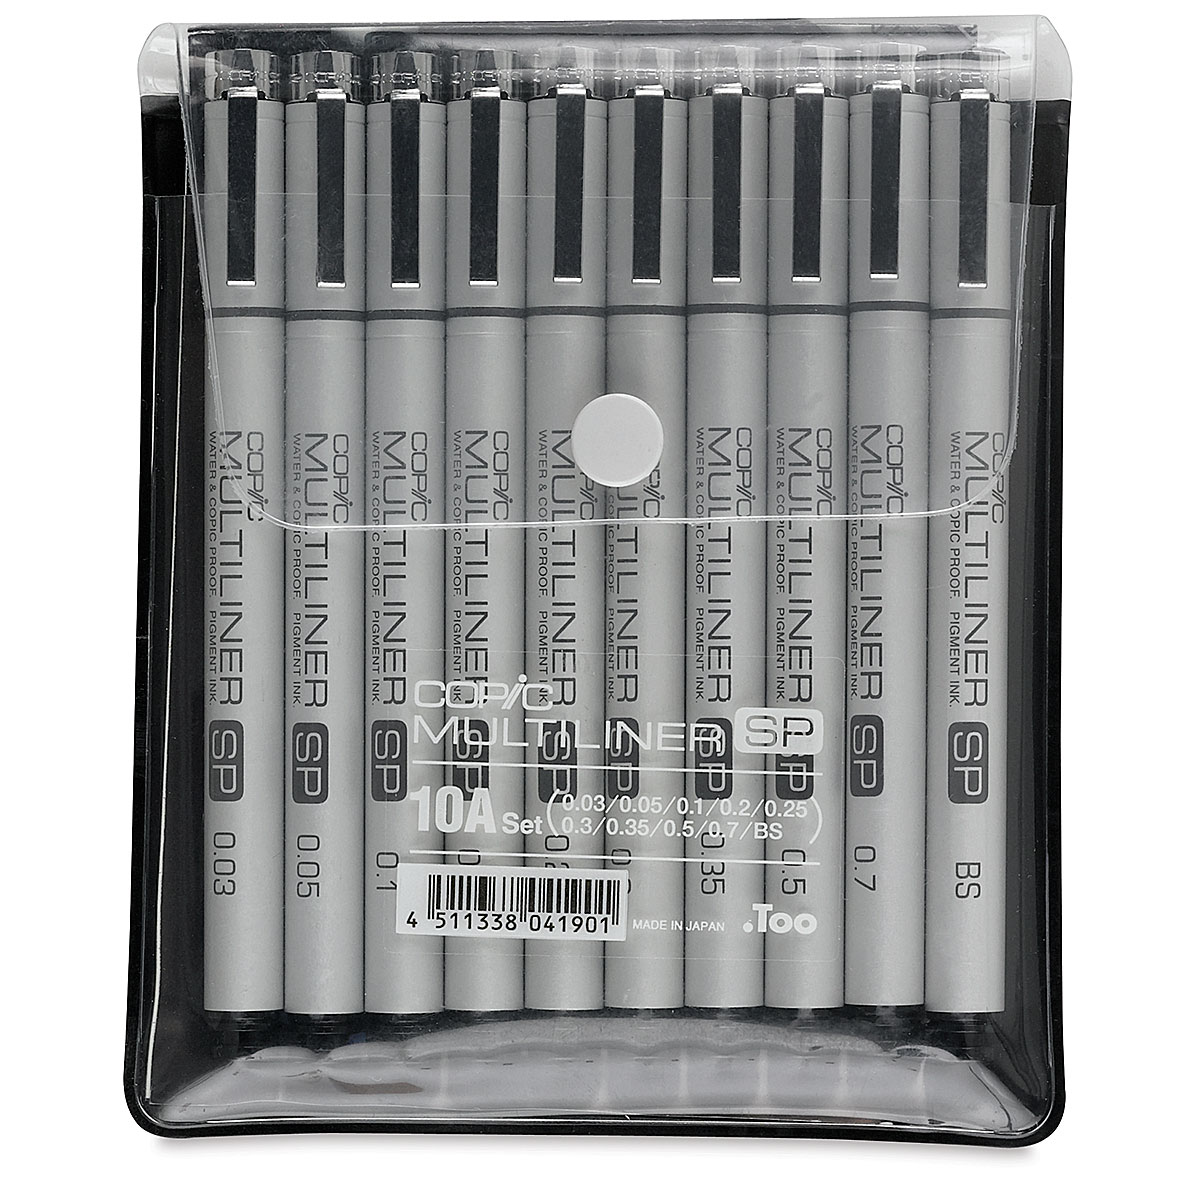
I'm using this FUN, almost one-line style modern art cling stamp that's all about sweetness and light, and I'm turning it into ZOMBIE LAND! I colored it with Graphit (coupon below) and Copic markers, and used a multiliner for the black details, which really gives it a comic book feel that I could not love more!
I even ripped their clothing up a bit, like my friend Jammie does all the time.
I even ripped their clothing up a bit, like my friend Jammie does all the time.
In the video I had left some of the eyes and lips purple, but it was too light and looked better in black, so I colored over that with my multiliner. One of my fave things to do when zombifying is to add little lines under their eyes so they look tired. You'll see that in the video.

Then last week I watched a video on watercolor "pouring" - this is something we've all done - wet the paper and tilt it to let the pigment run, but this woman did it as a way of underpainting, which I thought was so cool!
I think that it can be intimidating to fill up white space anywhere - on your card, in an art journal, whatever. That blank page is brutal if you have even a slight creative block. So here's a tip when working with watercolor.
First, take a piece of cold press watercolor and stamp the image on it.
When the ink is dry, spray the watercolor paper - front and back. Drop Cocoa, Coffee and Terracotta watercolors randomly on the wet paper. Tilt the paper, spraying it if needed to help the color move, until you have color all over the page. Set this aside to dry. Remember - it will dry significantly lighter so don't worry about the color being too intense unless you can't see the image at all.
When dry, paint the image using these same three colors. Since those are the colors making up your background wash, the resulting image will be SO harmonious with the background, and it won't even be obvious why that is to the viewer, because the mix in the background won't look like the purer color in your focal image.
So this is a much sweeter version of the same stamp :). Love the skin tone watercolors - tons of possibilities with these. The sentiment is from this set.

So there's no voiceover for this video, just some soothing, somewhat creepy music!
Come back for an amazing sausage recipe we tried this weekend!
Here are all the supplies I used today:
|


Now for the recipe! We found this AMAZING YouTube channel by a guy who clearly knows his way around a smoker and we decided to try his chile relleno sausage recipe, with tweaks for allergies (no cheese) and also because we weren't sure what he meant in the chile powder department. We are chile powder savants, and there are MANY different kinds - single chile, blends, etc. and it wasn't clear in the video what he was referring to, so while I wait for him to answer us, here is our version and it's AMAZING. We also sized it for two people - his recipe is ginormous. We did NOT make links and smoke it - we are doing that next time - we always test a sausage recipe by just cooking it and tasting it first - we've tried many recipes that were NOT worth stuffing and smoking - trust me. Our meat grinder was the best $80 we've ever spent - way better than the Kitchen Aid attachment. The great thing about making your own is no mysteries, no MSG, no nitrates, etc. So here you go! This is GREAT in a breakfast taco FYI. If you're sensitive to spice - leave out the cayenne, hence the star.
2 lbs. Cubed pork shoulder
3 lbs. Cubed chuck roast
32 grams Diamond Crystal Kosher salt
9 grams black pepper
5 grams cumin
8 grams paprika
9 grams red chile flakes
1 gram cayenne*
9 grams garlic powder
9 grams onion powder
2 grams oregano
8 oz. roasted and finely diced poblano.
Mix all ingredients and grind twice in a meat grinder
We felt like the poblano dice should be very fine.
Freaking delicious - five stars.
Loveyameanitbye.
CURRENT COUPON CODES
15% off anything at Marker Universe or any of their other sites - Understandblue15.
10% off at Sweet Sentiment with code UNDERSTANDBLUE
10% off the whole store at A Colorful Life Designs - LydiaFan10
5% off at LBC here with code LYDIA5
Phone stand for filming link below in the banner - 20% off sitewide with code UNDERSTANDBLUE

No comments:
Post a Comment
Every time you leave a comment, a new LOLcat is born. ALSO - don't panic if you don't see your comment right away - I moderate my comments to keep those spammers out, so your comment will show up in short order. Unless you're linking me to Russian brides or Nigerian princes.