This might be why they are a festive symbol of the holidays. That's my theory anyway, because I've never really been a part of any holiday tradition that involves a deer, so I can't think of any other connection.
They're DEFINITELY part of holiday stamping though. I doubt I've made it through any holiday season without making deer themed projects. They're just such pretty little things.
This stamping holiday season is no different. I actually have about TEN deer projects to come over the next few months as we lurch towards Christmas, and I'm starting today.
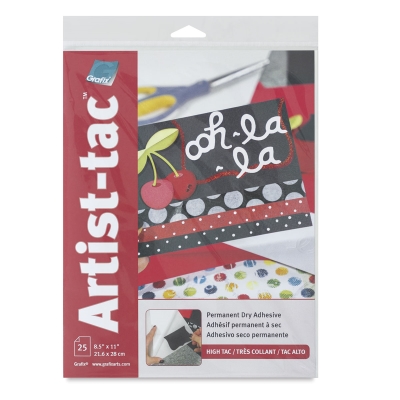
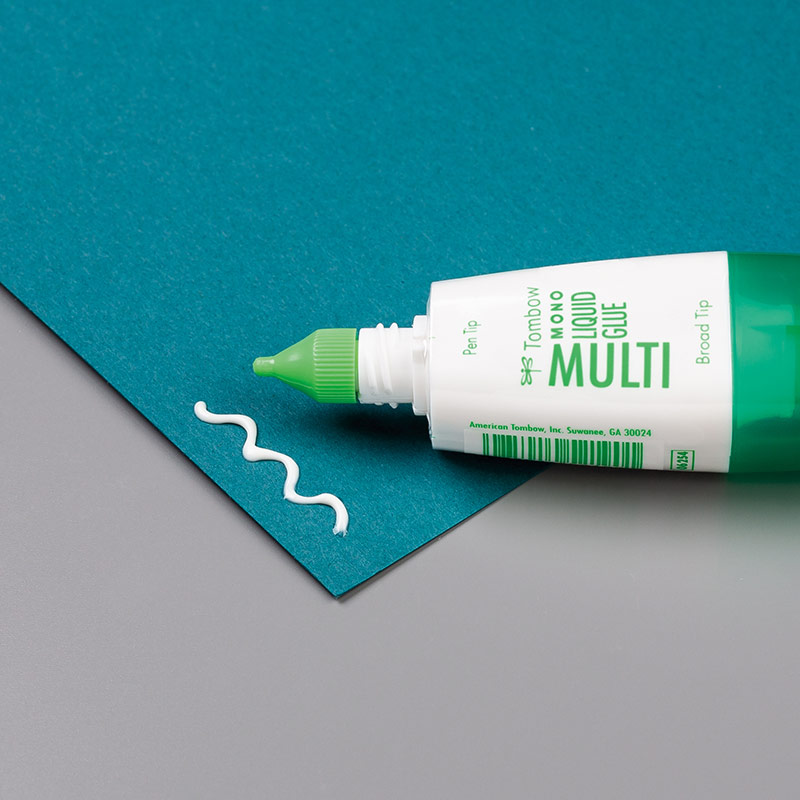
First up - this adorable, graphic deer die that cuts an outline gave me an idea. I used this large set of small greetings to create a background on the lid of my MISTI. I stamped that onto a white card front in Nocturne. Then I taped the deer die down onto the panel and cut it, saving all the pieces. I cut the deer again from black cardstock. I glued the stamped panel with the deer shaped hole in it down onto a white card base. Then I glued just the black outline onto the card base using these AWESOME adhesive sheets I bought at the Expo in Santa Fe - they just pick up adhesive on the die cut - no stringy adhesive, no waste from cutting etc. I'm in love. Just rub the die cut on the sheet and lift it up - so easy. I did the same with the inside pieces from the background, piecing them back into the deer shape. This is the least messy paper piecing I've ever done. Very grateful to the nice gentleman who demonstrated this product for my sister and I at the booth. Everyone was so nice there.
Do all things with sparkle - that's in the Bible, right? So I had to finish this card with the sparkly sentiment from this die, cut from no-shed glitter paper.
Once you have all the sentiments set up - make a bunch - this is a fun background for any image, even if you're not die cutting. Look at your sentiment sets for similar ones for other times of the year.

|
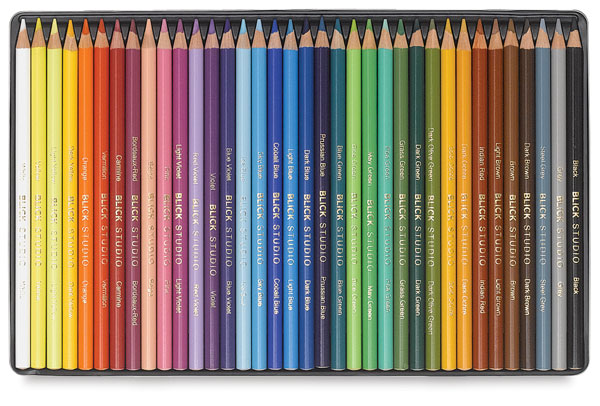
First - I stamped the entire image onto one of my Oxidized Shaving Cream backgrounds - the video for that technique will be below, in case you missed it. But I wanted my hills white, so I stamped the whole thing again on white cardstock and cut out just the hills and the bottom of the frame and glued that on top of the background. That ensured I'd get their little feetsies that are on the snowbank part on the bottom part. Then I took one of my Blick Studio Pencils and drew little pale blue shadows of the deer on the snow. The sentiment is from the same set, stamped in Nocturne.
|
This is part of the Simon Says Stamp Fun & Festive release today and it's CUTE as per usual. I don't know how they continue to generate such cuteness every month! Very inspiring. Plus they are real, nice people I know and love, so that makes the shopping even more fun. :)
Here's the video on the background in case you missed it the first time.









I like your "deer party" with two totally different ways to make deer cards! Love them both!
ReplyDeleteSo fabulous! I really do want to get some blue ink and try this technique again. I loved my green ones but they didn't really produce the amazing effect you achieved. Your sky is stunning!
ReplyDeleteI love your adorable festive deer! They ARE fun! The first graphic deer is my favorite! The color combination of green, black and white has been a new favorite color combo of mine for a while now! Love this idea!
ReplyDeleteWhat a great technique Lydia, love both cards.
ReplyDeleteThat adhesive is a must! I can't wait to try it! Lovely cards, still need to try the oxidized shaving cream technique.
ReplyDelete