My String Theory video is a great example of that, and it's busy making the rounds of crafters again right now.
I also love the Duoprinting technique with plants. I came across some of my prints yesterday and need to make them into cards.
I love doing delicate and painstaking watercolor work, but sometimes, a person just wants to fingerpaint.
My sister and I took a private class with a VERY cool mixed media artist in Santa Fe - her name is Lauren Mantecon, and her website is here. She had us create art in ways we hadn't tried before, and mostly using our hands, which was fun and really broke our comfort zones in an awesome way.
We started each piece on a table and then moved to a wall. We combined paint and pastels, and she had us fingerpaint with the pastels - drawing the color out as far as we could on top of the paint.
She probably had 2,000 pastels in various containers, and we could just grab any color and scribble and then fingerpaint. It was such a fun day. At one point during the day - I was just mushing everything around on my paper, and I created something (accidentally) that looked like the northern lights, which inspired today's video.
When I got home, I wanted to turn it into what I call "clean" mixed media to do at my retreat, which is starting right now, actually, and I'm teaching this and 8 other techniques this weekend, so you get a peek into the kind of things we do.
I like CAS cards, but I also like mixed media, so I'm constantly trying to prove to people that mixed media can be clean.
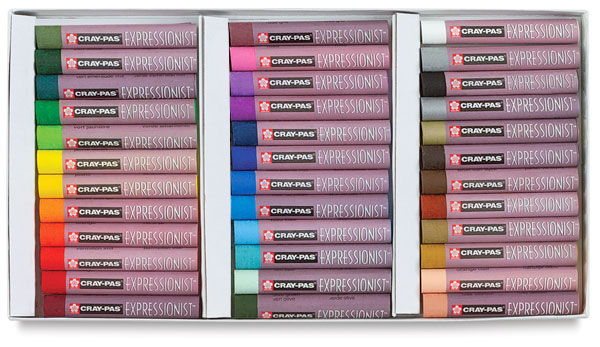
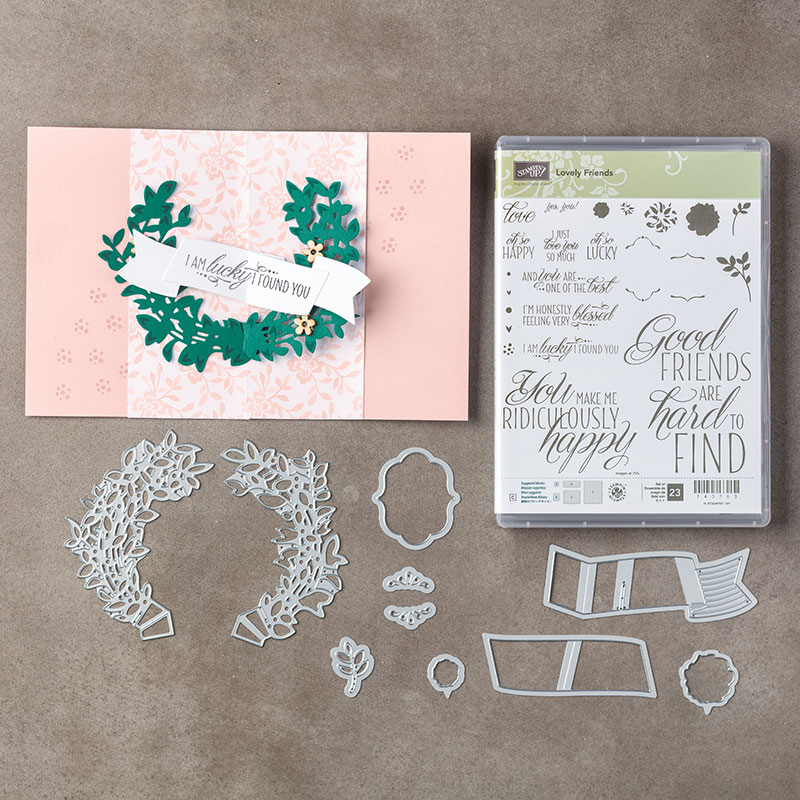
So I thought it would be fun to mask off the fingerpainting to create just a clean line. I used the holy trinity - turquoise, magenta and yellow with these oil pastels and Post-It tape. You'll see this five second process in the video below. The sentiment is from this set, which is retiring this week, so you'd better hurry!
|
Then I thought - why not try dies with the same fingerpainting? I used the negative space from the big Love die from Concord & 9th. WHEE.
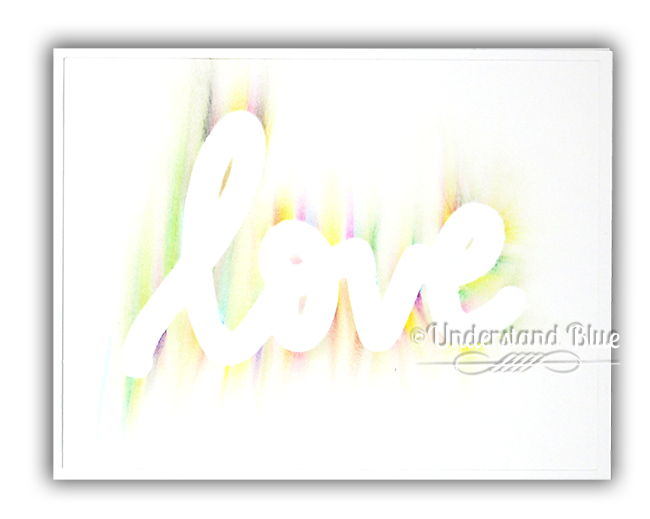
|
Then, I had to try the textured cardstock, to see how that changed the look. It's very cool. I layered the thinner die cut on top and just added "you". This is on my linen cardstock I order pre-cut, and corner rounded here.
|
|
|
In the meantime, here's the video. It takes two seconds and is super fun! Click here to watch in HD on YouTube.
Now - back to my retreat!
Loveyameanitbye.






These are beautiful cards, Lydia!!! I love the soft look. Craft room annex??? Are you expanding your space? If so, you'll have to give us a tour when you're done! Thank you so much for sharing these, and have fun with your retreat! :) ~ Andrea
ReplyDeleteSuch incredible effects! <3
ReplyDeleteGreat effect! I remember doing something like that in art class in elementary school. Sometimes we have to go way back in order to make cool art!
ReplyDeleteWow! You really out did yourself again with another clean and beautiful mixed miss a card! In off to find my oil pastels and give this a try! #alwaysinspiring
ReplyDeleteHey, I like this! Gotta try it!
ReplyDeleteI remember doing this as a child too, but with crayons and a pencil eraser.
ReplyDeleteThis was fun....I had some Sakura oil pastels (probably over 25+ years old and still work) tried this technique...it sure was fun, could not stop playing. Thanks for showing, now I want to do more and even get a newer set with more colors....lol! I am hooked!
ReplyDeleteOh...wanted to add, reminds me sort of like the "northern lights" in a way.
ReplyDeleteYou must be psychic!! I was just talking with our Art teacher about your duoprinting technique with plants but I couldn't remember the name of the technique, and here you've mentioned it in this post! WONDERFUL!!!! I can't wait to try the oil pastels and fingerpainting technique!!
ReplyDelete