
It's a place where I can test techniques with no judgement, and I can let things sort of marinate in that closed book until the day I open it to a page that I know exactly what to do with.
So today's post is all about an unfinished journal page and a fun technique experiment that turned into a success.
It's a two part technique, as you'll see in the video below, and it's all about using your Gel Press with Pan Pastel - that's a crazy thought right? A dry medium on the Gel Press?
Oh yes. In two different ways.
This all started with the palettes I showed you in this post - GORGEOUS handmade watercolor palettes from Etsy - that are handmade in Russia.
When the package came, it was COVERED with beautiful Russian postage stamps - you can see the orange ones in the lower right corner of the page below. I wanted to save them for my art journal, so then I went into my ephemera drawer, where I actually have ton of vintage stamps sorted into little baggies by color, grabbed the orange bag and found some that looked good with the Russian stamps. Then I grabbed one of my many orange Gel Press prints in the UFO pile that was done with that signal orange and pink paint I love to put together that was just a little too bright and I decided that it would be my experiment.
It didn't have any structure at all so it was perfect for my experiment. You'll need your largest Gel Press if you're going to do a journal page, but I also have a smaller project below.
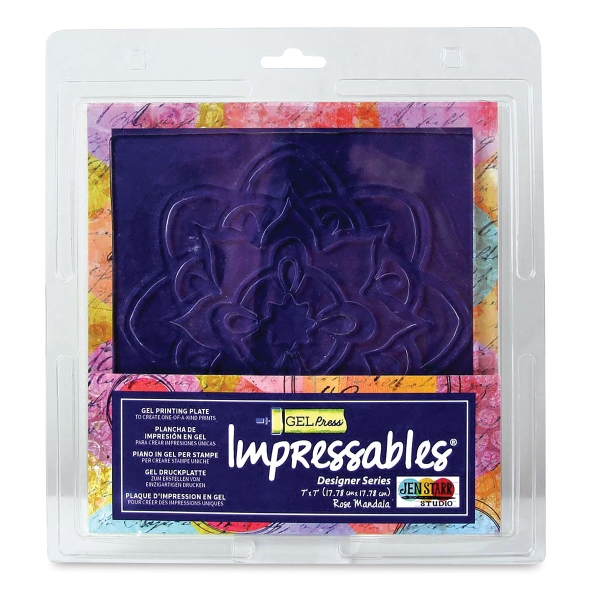
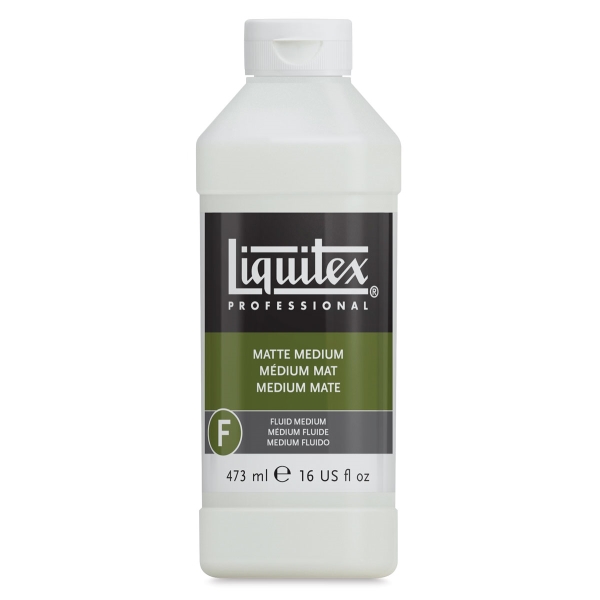
So to start with, I took this beautiful Gel Press Impressable and used my brayer to coat it with matte gel medium, and I pressed the print onto it to lift an invisible print.
I repeated that process with a round petites plate that I used like a stamp to add a few large invisible circles.
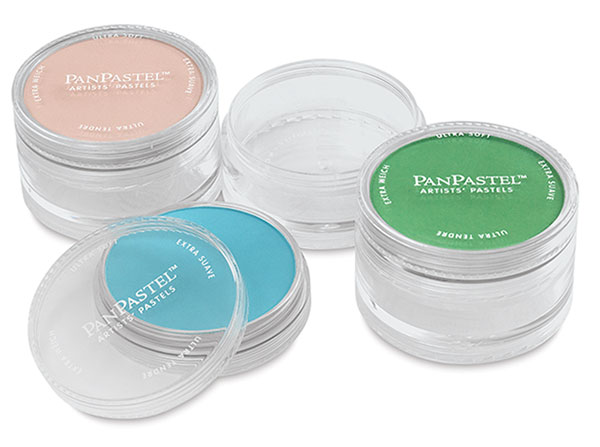
After that dried, I used this fun stencil to apply Red Iron Oxide Pan Pastel through. The magic that happens is that the gel medium acts as a resist, so you can actually see the pattern of the Impressable weaving through the squares I created with the pastel and the stencil, in sort of an Escher feeling way. I brought out the circles by adding pastel around them too. I added a tiny bit of Turquoise pastel here and there.
Now if you've ever wanted to seal a pastel project without spraying it with something - I have asthma and I'm sensitive to chemical odors so I generally don't use aerosol sealers or paints - you have the tools to seal it!
Just take your large gel press, coat it with gel medium with your brayer and pull a "print"! Laying the print into the gel medium on the press will seal the work without disturbing the delicate patterns, and then you can work on top of it (this is why I used matte) as I've done here with a Copic multiliner and a white gel pen. Then I used more gel medium to add the stamps at the edges. I folded the piece of paper in half to make it easier to go into the spine area, and then working one page at a time, I brayered gel medium onto the journal page and one half of the folded print, and then pressed it down, poking the fold into the spine with my teflon bone folder and smoothing the print with that as well. Then I just repeated the process on the other side.
Now I have a colorful page with a fun foundation for a future art journaling day. My friend Meg taught me this process of building foundations for pages while you're playing, so that later when you're feeling super inspired you have a beautiful backdrop for your theme. I love it.
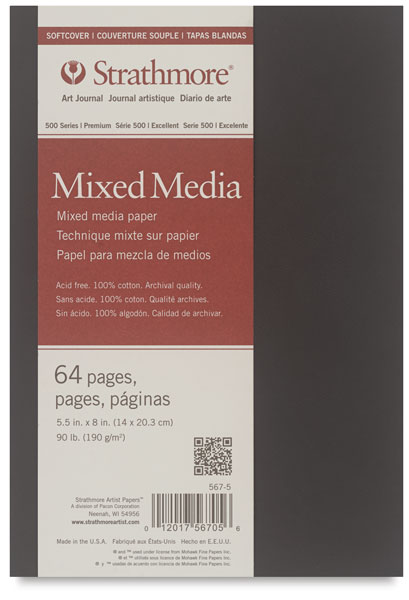
My journal is a Strathmore one - the pages are super thick and can handle anything you throw at them.

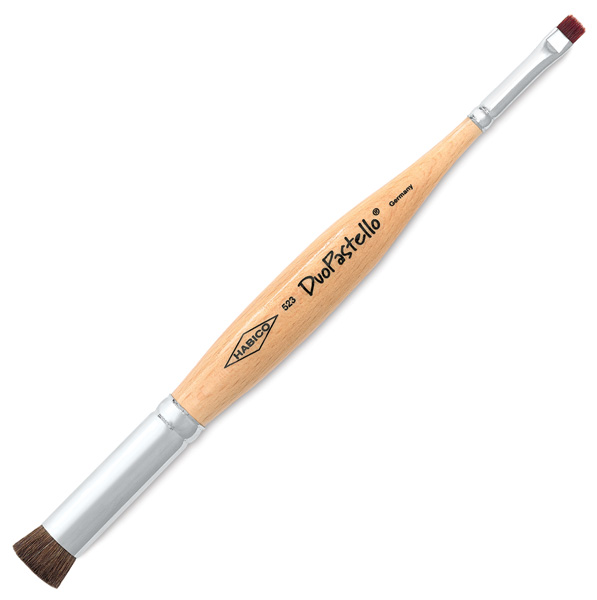
Next I wanted to just freehand some Pan Pastel and use the same process to seal that, so I made a crazy little tree with the colors that were on my desk. I keep my Pan Pastels in stacks - so all shades of one color are a stack. Then you can grab three stacks but those stacks might be 18 colors - it's just easy for me.
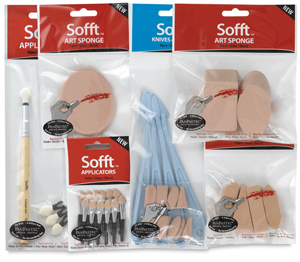
I did the tree using the Softt tools on top of a piece of paper that I cleaned my brayer on in a previous Gel Press session - I thought the colors were so pretty - you can see the card from that session in this post. I added a few lines with a pen and then added the sentiment from this set after sealing the print with the method above.


|


Hope you enjoyed that video and technique. I'm (hopefully) headed to Creativation next week, so my blog will be a little quieter, but follow me on Instagram and Facebook for updates from the show.
Loveyameanitbye.


Love the crazy little tree.
ReplyDeleteA wonderful outdoors page.
I focus so much on cards
that I seldom get to any
bigger projects. Need to
change that. Better way
to express myself.
thanks for sharing
txmlhl(at)yahoo(dot)com
This has such a neat feel to it. I dub it Austin Hippie Beauty!
ReplyDeleteBeautiful! Thanks for sharing the process on video. The layers of color are gorgeous!
ReplyDelete