
Mostly because I LOVE some real estate to watercolor in.
But I was teaching a class not too long ago and someone who really isn't into coloring told me that she was intimidated by big stamps, so I have a fix for that for you today.
But first, something shiny. :)
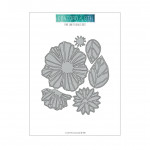
The dies that match the big stamp I'm going to talk about are STUNNING. And thanks to this little tip by the geniuses behind it, I was able to layer them to make a beautiful shaker card.
Here's how this works.
- Take the dies for the images behind the big flower and tape them onto a piece of white cardstock and run them through your die cutting machine. To arrange this, I put all the dies face down on the cardstock, and made sure I had enough room for the big flower in the center (by positioning that die on top of the others) but also enough space to see most of the other shapes.) Then I taped the smaller dies, removed the flower die, and ran that through my machine.
- Next, tape just the big flower die on top of the die cut piece of white cardstock so that it's cutting that space in the middle. Congratulations, you now have a piece of white cardstock with a big weird hole in it.
- Cut all images out again in black.
- Put a large full sticky post it note behind weird hole.
- Arrange background images you cut in black into their places on weird hole cardstock that now has a sticky note in the opening.
- Use large flower die (it will fit snugly into the cardstock where you die cut it before) to die cut again, removing the extra parts of the black cardstock pieces and "masking" an area for you to put the black flower into.
- Adhere a piece of acetate to the back of your cardstock with a weird hole in it, and put the die cut black pieces into it with glue on the back like you are happily doing a puzzle.
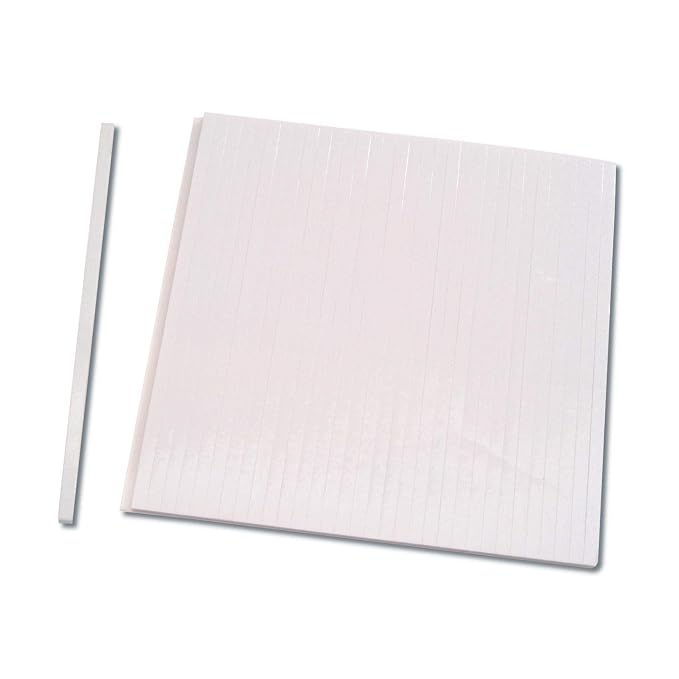
- Use shaker strips on the back side of the acetate to build little walls your sequins can't get out of, and also put shaker strips all the way around the edge of the card panel. I mixed these blue sequins and these yellow ones.
- Position this concoction in the corner of your MISTI, at a distance of however large you want your card base to be from the corner. So if you are leaving a 1/8" mat around it, position it accordingly. I use temporary adhesive to stick it down. Peel the backing off all shaker strips.
- Using the corner of your MISTI, put your card base down onto the back of your shaker strip covered card front, but positioned in the corner, and it will be perfectly aligned, even though you're "blind" because it's face down.
This is what it looks like - how fun is this??

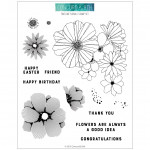
So this is what the stamp set and dies look like. That big flower cluster is amazing - nearly covers a whole card. So that's what we'll talk about next.


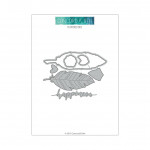
But enough with elegant and classy. Let's do a little weird and crazy. There is a new turnabout afoot and it's so cute. Here's what it looks like all stamped out. ADORABLE.

But the DIES that go with it sang a little siren song to me. They sang "Lydia - please watercolor us and make us crazy." Who am I to resist such a song?
I painted Phthalo Blue Green shade all over a piece of watercolor paper first, and blotted it with shop towels for subtle clouds. Then I die cut the two birds, but flipped one over so he was facing the other bird. Then I watercolored them in mirror image patters with Pyrrol Scarlet and Sepia. I used my favorite crazy eye stickers to finish them off. The little talk bubble is from the same bundle.

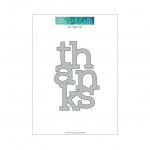
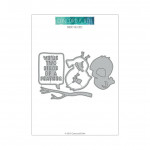
Have you ever gotten your turnabout jig slightly off? Sometimes I'm not paying attention at the paper cutter and I cut the wrong size and then my image is slightly off. Well what's cool about the Marbled Turnabout is - it's still cool! I did this one with Distress Oxides and even though I didn't line it up right I loved it anyway, so I kept it in the UFO pile until this gorgeous big Thanks die came along. So pretty. This would make a great shaker too, I think.

When I die cut that, I wanted to use the part that it cut out, so I put some temporary adhesive on it and stuck it down on a piece of watercolor paper. I sprinkled A Bit Jaded and Sunset Beach all over it - I know, I use this combo a lot but I like it - and spritzed it with water, then removed the die cut. This makes for SUPER quick Thank You cards. I might take this to my next retreat and bang a bunch of these out.


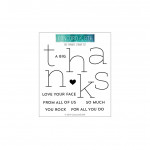
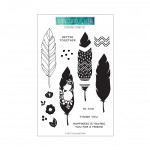
I did a card with the beautiful Feathered set, but it's so gloomy here all my pictures of it came out terrible, and I ran out of time, so here's what the set looks like.

It does come with matching dies.
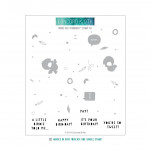
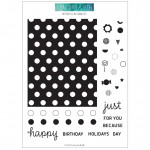
So last but not least my favorite of the whole bunch - this Dotted Fill in background. This thing is SOOO well thought out and so fun to stamp with.
I inked the background in Key Lime and stamped that a few times in my MISTI to get full coverage. Then I used the fill ins two at a time, to stamp this adorable pattern. They included Christmas images as well as whole stripes of images for you to do rows with. This thing is addicting. I added the You're My Happy die cut on a strip of vellum with my invisible vellum adhesive - love that stuff. I wanted the background to be the star. This card makes me want a margarita.

It also comes with matching dies so you can cut out the patterns selectively as well as add hearts. Here's what those look like.

So what are you doing this fine Caturday? I'm going to spend the weekend organizing stamps and cooking and getting ready for my trip to CREATE. Will I see you there? Hope so. Loveyameanitbye.
|


There you go, doing it AGAIN. Your cards are absolutely amazing. I am especially in love with the elegant one with the neutral, brownish flowers. There is no end to your imagination and talent.
ReplyDeleteLove all your cards, am completely confused by your large floral shaker, and WILL see you next weekend! (By that time I will reread you shaker instructions...)
ReplyDeleteOh my goodness! You’re blowing my mind with these cards!
ReplyDeleteI love it all! I do tend to stamp partial flowers when it's a large stamp but I usually do it on an entire base. I really like the way you cut and layered the your partial image on the 2nd card. Filing that idea away for future! I adore what you did on the first card. Love those sequins showing through! I am totally intrigued with the marbled turnabout. I love the look of marbling but don't really have the time to create my own but with a stamp..! It's going on my wishlist.
ReplyDeleteSo many amazing projects! I love how you did the first one, and the colours on all of them are amazing.
ReplyDeleteWow, gorgeous collection of cards! So many amazing techniques and designs. Love the technique for the shaker card, what a great way to stretch your supplies. Cutting a large image down is a fantastic technique and I love the sepia tones in your sample.
ReplyDeleteI just worship you. (In a wholesome non-blasphemous way but powerfully so nonetheless.) Just sayin'
ReplyDelete