*Compensated affiliate links used where possible at zero cost to you. No posts are ever sponsored or paid.*
Okay today really IS Friday. Like, I'm CERTAIN of it. So I'm bringing you happy mail for the weekend. Literally. Happy. Mail.
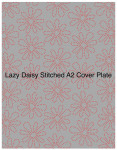
I started with the daisy cover plate - you know I'm obsessed with these right now - and you are going to see a CRAZY awesome way to use these on Monday - so you will have to wait to see that. But I do have a video today on the stunning layering flower die I'm using, so I'm not all in on the torture yet!
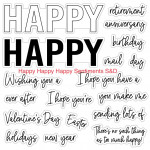
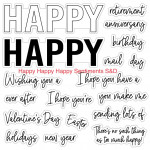
After I ran the panel through with the daisy plate, I die cut it with the happy die twice - once from the panel and once plain. I layered them together and pieced them back in and then stamped and die cut the mail word. Why doesn't every sentiment set have dies? I love the way it looks.
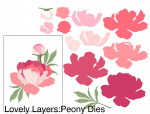
I die cut all the pieces of the flower and colored them with my OLO markers, and then glued them together. All the layers make it a really detailed, sturdy accent - you'll see in the video. Very fun to do.
I die cut all the pieces of the flower and colored them with my OLO markers, and then glued them together. All the layers make it a really detailed, sturdy accent - you'll see in the video. Very fun to do.
Here's a quick video of it - and then I'll show you the card for Monday's video!
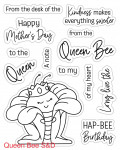
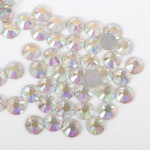
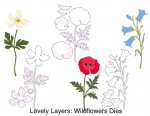
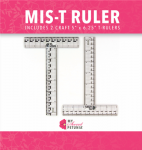
OMG I love this next card so much! The background is a secret until Monday, but I took this VERY queenly bee and stamped her on sparkly marker paper (you can see the sparkles in the photo) and colored her with OLOs. I added aurora borealis gems to her crown, and cut her with her matching dies. I used this wildflower die cut behind her. for the sentiment, I did the old MISTI shift! I stamped it first in yellow matching the background, and then shifted it and stamped it in black. I need to do this more often - I love the look.
See her little sparkles on her fabby cape? Such a cute image.
Now let's talk about BLUE BEES.
Texas' native bees are solitary, blue bees. They are so pretty and tiny. My sister made me a bee house for them once - you drill holes in a log, and face the log southeast, and the bees will seal themselves into the little holes. When I see them on my flowers - they're hard to recognize as bees because they are so tiny. Here's a great article with photos and info on the little bee houses.
So when I saw this amazing little stitching bee - SQUEE - I made him a Texas bee with blue felt!!! I made this one flat for a coaster, but I'm going to make the next one a plush with stuffing. I also think it would be SUPER cute as a lavender sachet. So stinking cute - and the spacing on the stitching holes makes it easy and quick! I added the eye with Honey Bee glue which works great on felt - most glues do!
|
Today we are celebrating Honey Bee's 7th birthday - I remember their first birthday like it was yesterday - time flies! They have some fun giveaways for you, so be sure and leave me a comment, and head over to my Instagram for the full hop list, and good luck. Click the graphic below to see their full birthday themed release - it's awesome. I'll have more cards for you with this release in a few days as well as the video for the queen bee card above.
Loveyameanitbye.
Like this post? Never miss a post by following me!
CURRENT COUPON CODES
20% off anything at Glassboard Studio - UNDERSTANDBLUE.
15% off anything at Marker Universe or any of their other sites - Understandblue15.
10% off at Sweet Sentiment with code UNDERSTANDBLUE
10% off the whole store at A Colorful Life Designs - LydiaFan10
5% off at LBC here with code LYDIA5
Arkon Mounts - 20% off sitewide with code UNDERSTANDBLUE


