Tuesday, December 14, 2021

Glamour Girl Tag + My Favorite Dip Recipe

*Compensated affiliate links used where possible at zero cost to you. No posts are ever sponsored or paid.*

CURRENT COUPON CODES
20% off anything at Glassboard Studio  - UNDERSTANDBLUE.
15% off anything at Marker Universe or any of their other sites - Understandblue15.
10% off at Sweet Sentiment with code UNDERSTANDBLUE
10% off the whole store at A Colorful Life Designs - LydiaFan10
5% off at LBC here with code LYDIA5
Arkon Mounts - 20% off sitewide with code UNDERSTANDBLUE

Happy Tuesday! I had a pretty productive weekend, craft-wise - got some videos filmed for an upcoming workshop, and worked in my art journal a bit. I've been doing more mixed media lately and it is so much fun. I really cycle through phases with mediums - it's funny how your crafty mood changes.

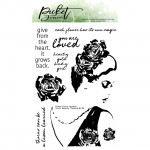
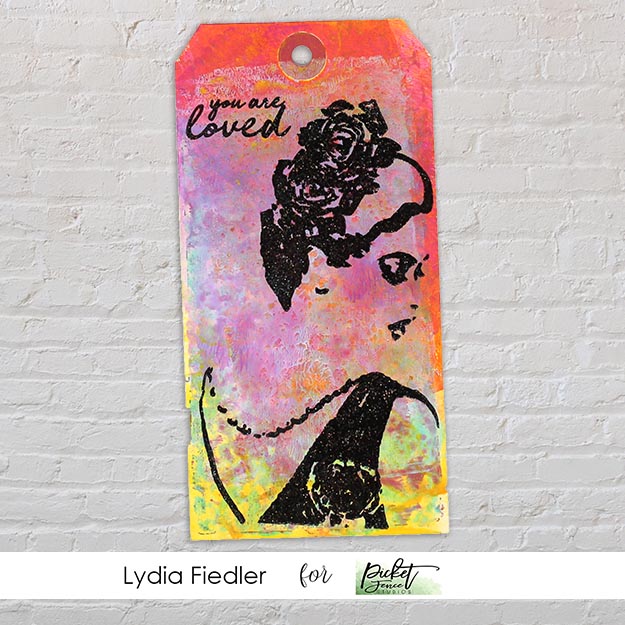
So the first project today is a mixed media one with this gorgeous new Theresa stamp! She's so beautiful. What you can't see here is how sparkly she is. I added sparkle embossing powder on top of the black ink - partially to set the ink, because the surface of the tag is click, but also to add some glitz.

The background of the tag is made by smooshing acrylic sprays until the tag was covered. They are so saturated and shiny when dry.

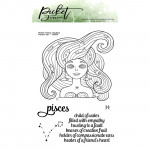
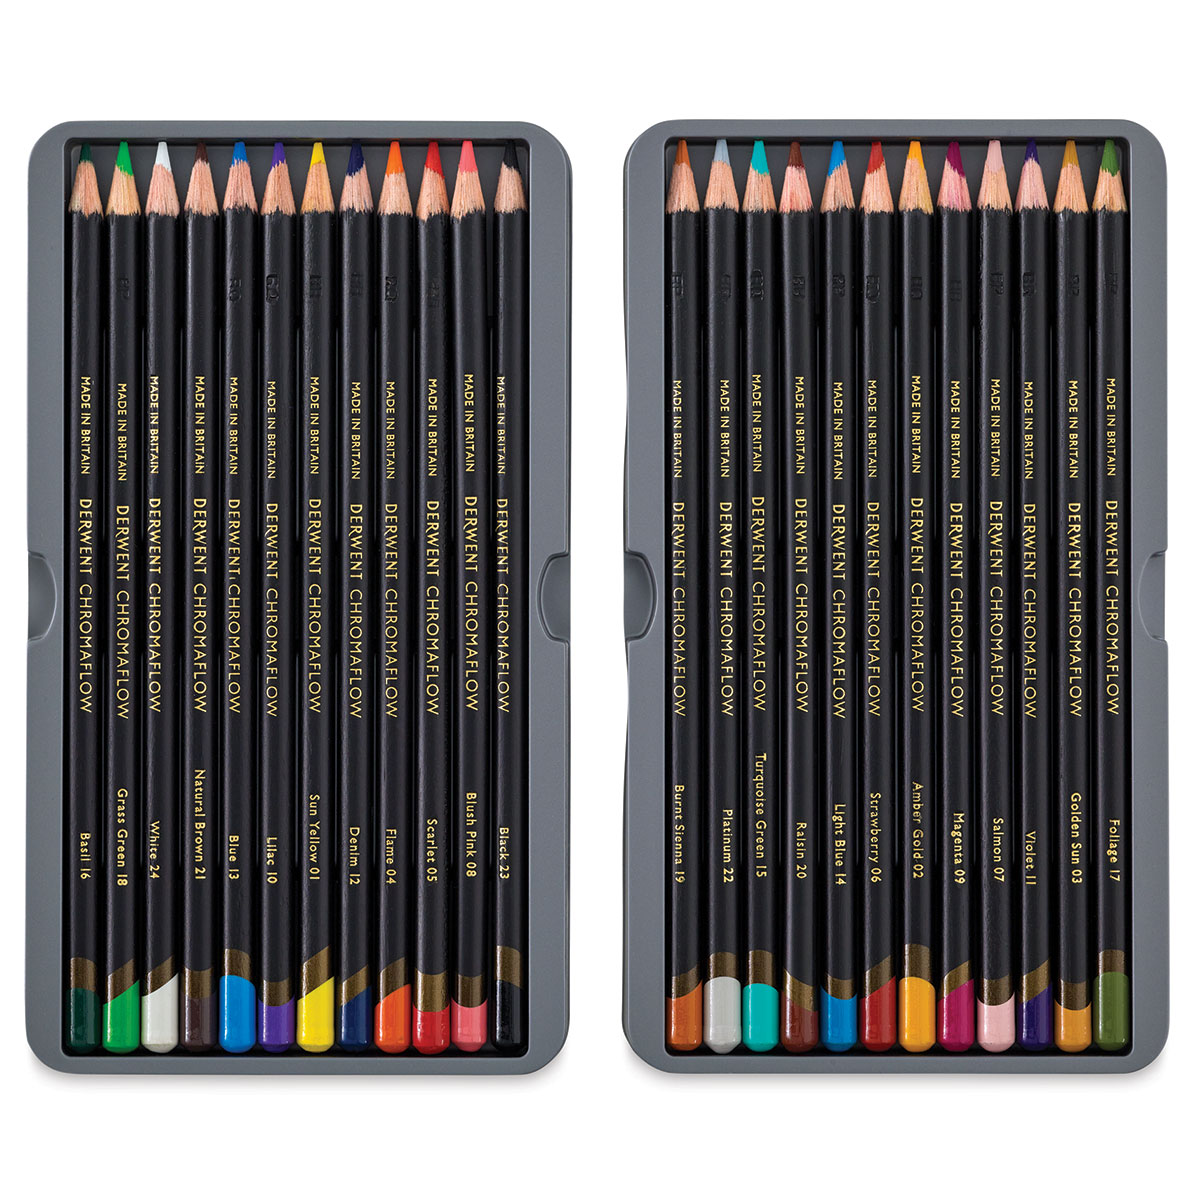
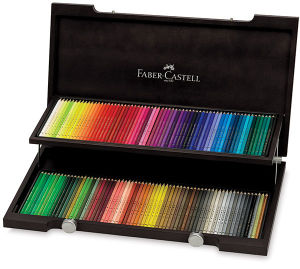
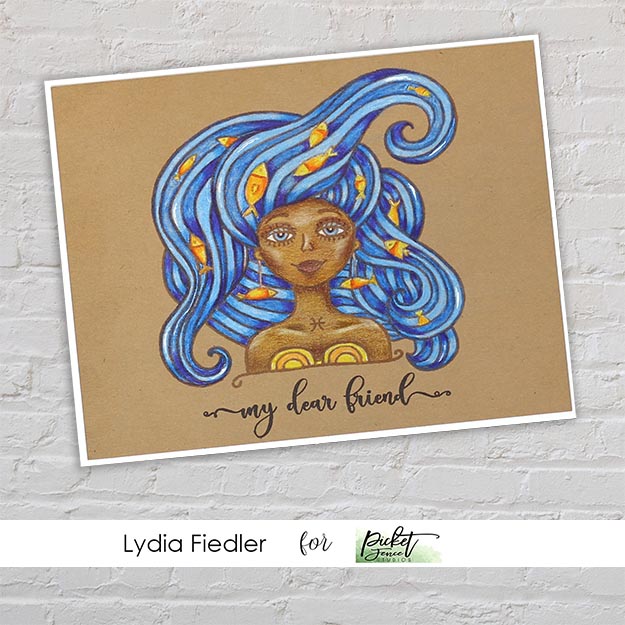
Speaking of girls AND colored pencils, I colored the Pisces image with Polychromos on this awesome kraft paper for pencils - this paper has just the right tooth for pencils, but it doesn't fingerprint as badly as other kraft or toned papers. Not sure of the weight - but it feels like a 90 or 100 pound cardstock to me. Now stay tuned on the colored pencil front, because I found some super affordable pencils that blend as well or better than these! They blend in fewer layers, so you can spend less time coloring images. They also blend well with the pencil blending pen. 

I love adding collarbones to my girls - just color a darker spot and then put white in front of it for a highlight. So fun.

This image is from the Theresa Set - it's an extra flower you can use for her, but I wanted to shade them. So back to the colored pencils I went! The center flower has darker shadows than the other two as a form of spotlighting. I stamped and colored these leaves as well, and faded this stencil in in the background.


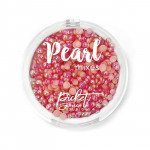
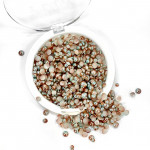
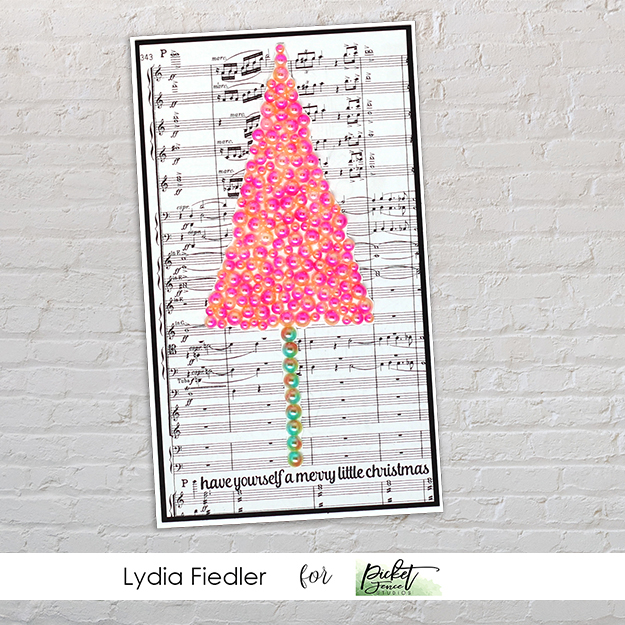
I love meditative techniques - repetitive things like die-cut inlay I find super relaxing. So I took these flat back pearls and made myself an bright and happy mini-slimline card on a sheet of music paper! I'll show you how to create this live tomorrow on the PFS Community page on Facebook, so come join me for a chat. 

Lots of companies are doing birthday stuff this time of year and I love it! Time to build up a stash for the new year. That's usually what I spend New Year's Day doing.

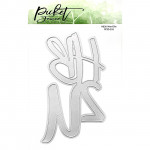
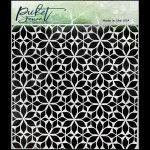
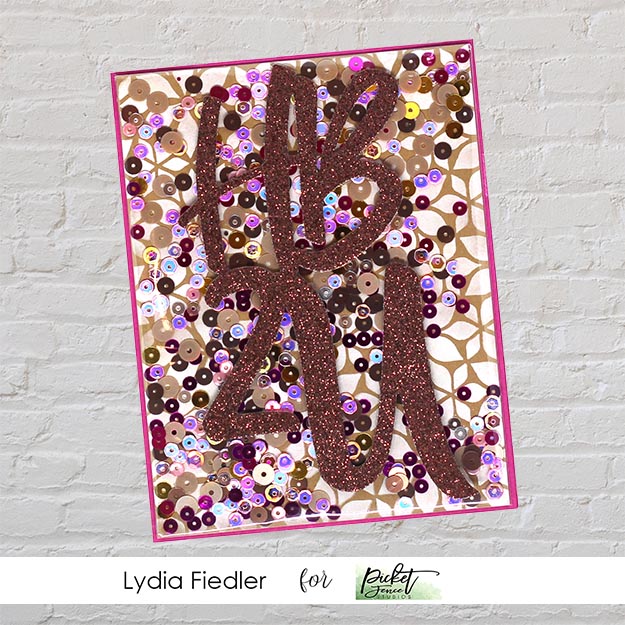
I made a simple edge to edge shaker, with white ink and this stencil on kraft, filled it with these sequins and used the HB2U die to cut out this awesome brown glitter paper to finish. Where have edge to edge shakers been my whole life? WHERE.
Like this post? Never miss a post by following me!

Theresa
[ PFS ]
Dina Wakley Media Gloss Spray - White
[ JGG ]
Dina Wakley Media Gloss Spray - Lemon
[ JGG ]
Dina Wakley Media Gloss Spray - Cheddar
[ JGG ]
Dina Wakley Media Gloss Spray - Fuchsia
[ JGG ]
Pisces
[ PFS ]
Sweet Sentiment Coloring Paper, Kraft...
[ SWT ]
Derwent Chromaflow Colored Pencils -...
[ BLIC ]
Leaves for Flowers – Picket Fence...
[ PFS ]
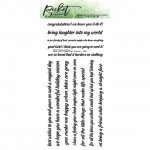
Word Topper Subtitles
[ PFS ]
Pink / Coral Flatback Pearls
[ PFS ]
Green/Copper Flatback Pearls
[ PFS ]
HB2U
[ PFS ]
PS779 Glitter Paper Fall - Hero Arts
[ HA ]
Sequin Mix - The Pink Lady – Picket...
[ PFS ]
Blossoms Stencil
[ PFS ]
The Ink Stand White RECTANGLE...
[ SSS ]
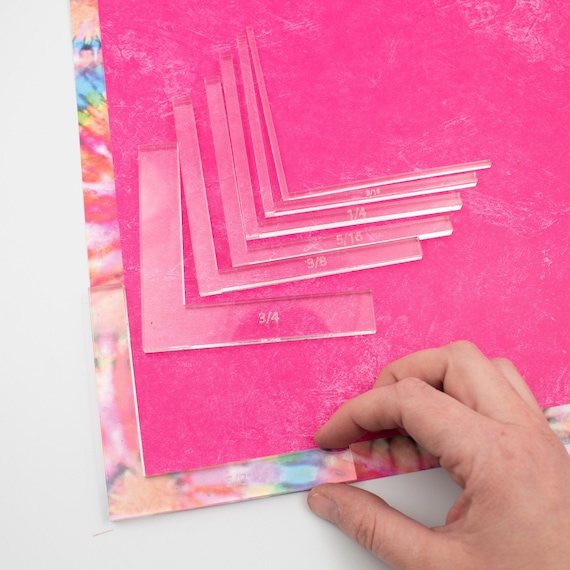
MIS-T Rulers
[ MSP ]
Understand Blue MINI Slimline Folded...
[ CTC ]
Understand Blue Slimline Folded...
[ CTC ]
Understand Blue Card Making Bundle #3...
[ CTC ]
Understand Blue Card Making Bundle #1...
[ CTC ]
Understand Blue Card Making Bundle #2...
[ CTC ]
Art Anthology BIG CRAFT MAT 24x36 311473
[ SSS ]
MISTI Stamping Tool
[ MSP | SSS | ELH ]
Rotatrim Professional Series Cutter -...
[ BLIC ]
Teflon Bone Folder - Ellen Hutson LLC
[ ELH | SSS ]
Crafter's Companion GEMINI...
[ SSS ]
Scor-Pal MINI SCOR-BUDDY Scoring...
[ SSS ]
Storage Envelopes, Medium 25pk,...
[ ELH ]
CheckOutStore Stamp & Die Clear...
[ CHC ]
Extra Large -50 pk, Avery Elle Stamp...
[ ELH ]
Lawn Fawn STAMP SHAMMY Cleaner LF1045
[ SSS | CST ]
Airtable: Organize your stamps & dies
[ ART ]
The Ink Stand White MINI is354 at...
[ SSS ]


Since everyone on Facebook is asking for go to appetizers this season, I thought I'd share one of mine.

This is another one of those dishes that you think sounds weird when you read the ingredients, but TRUST ME. I got this recipe before I started keeping my recipes in Google Drive, and I'm almost CERTAIN I got it from Martha Stewart Magazine, but I can't find it online on her site. I googled the ingredients, but it only came up with a post on allrecipes, and I got this recipe long before allrecipes was a glimmer in the internet's eye. BUT, whilst googling I found out that Allrecipes and Martha Stewart Living are now owned by the same company, so that's interesting. Allrecipes doesn't appear to have people who founded it etc. - so to me it has seemed more like a recipe aggregator site, not an originator of original recipes. Martha has like five red bell pepper dips, but none just like this one. Maybe I'll get my old cookbook (page protectors with handwritten and magazine recipes) down and see if I can find the original.

My mods to accommodate food allergies below.

Roasted Red Pepper Walnut Dip


  • 3/4 cup walnuts, toasted I sub pecans because I’m allergic

  • 1/2 cup raisins

  • 1/2 cup plain sour cream - I use dairy free sour cream or Vegan yogurt - Culina plain & simple.

  • 1/4 teaspoon salt

  • 1/8 teaspoon ground red pepper I use cayenne

  • 1 (12-ounce) bottle roasted red bell peppers, drained I've always used Mezzetta, but I tried Mt. Olive and I loved them so much!

Process in food processor, serve with pita triangles or crackers
So completely unexpectedly awesome - this stuff vanishes fast at parties, and since it’s always ingredients I have - it’s a fave.


Loveyameanitbye.



Saturday, December 11, 2021

It's a Minecraft Christmas! CASE Me a Christmas Card with Michelle Lupton

*Compensated affiliate links used where possible at zero cost to you. No posts are ever sponsored or paid.*

CURRENT COUPON CODES
20% off anything at Glassboard Studio  - UNDERSTANDBLUE.
15% off anything at Marker Universe or any of their other sites - Understandblue15.
10% off at Sweet Sentiment with code UNDERSTANDBLUE
10% off the whole store at A Colorful Life Designs - LydiaFan10
5% off at LBC here with code LYDIA5
Arkon Mounts - 20% off sitewide with code UNDERSTANDBLUE

While I consider myself a game FIEND - any kind of game or puzzle - analog or digital - one thing I have yet to succumb to is Minecraft. My current obsession is June's Journey. I feel like it's a good game for improving memory too. 

But I have so many friends whose kids just LOVE Minecraft, and what strikes me about this game, like Pokemon Go! is that it translates so, so well to crafting - I've seen the cutest craft projects with both games.

Today, I'm teaming up with my sweet friend Michelle Lupton on her CASE Me a Christmas Card series - she always does such fun stuff in her Christmas series. So she is CASEing a card of mine and making it a Christmas card and I'm doing the same. 

So as I perused her Instagram account, an ADORABLE Minecraft inspired card she made for her Nephew in 2019 and I knew what I was going to do! 

So click over and check out the inspiration first, and then I'll show you what I did.

  • First I took a 4x5.25" card panel - I use these on all my cards because I have them pre-cut for me.
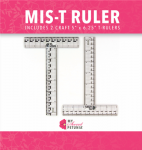
  • I used a pencil and the awesome new MIS-T Ruler to divide the entire card front into a 1/2" grid. It's important to cover the whole area with a grid, because that helps you plan your shape and see exactly how big it can be. This is how I figured out that with the square "star" I could make the design span the whole card.
  • Some squares you will have to divide in half so that you can offset the rows of squares if you're making a tree - so you can see that row 2 is offset from row 1, etc.
  • Erase all extraneous lines around your design
  • I used all the greens in my Graphit Markers and three browns - first, outlining each square with the fineliner end, and then filling that in with the brush end. 
  • I had a scrap I had wiped off excess acrylic ink on on my desk, so I cut that to a 1/2" square and glued that on top for an abstract star. I stamped the sentiment from this set on top. 
It's a naturally imperfect process - coloring squares - and I think that is part of the charm of this technique.


Here's my prep work for the tree. You can see what I mean about subdividing the squares.
I ADORE this particular pencil - I've kicked all my other ones into travel bags. The lead is both fine and hard, so you can draw light, easy to erase lines.


Like this post? Never miss a post by following me!

Want to see what card Michelle chose to CASE of mine? I haven't seen it either, so let's head over to her post together!

Loveyameanitbye.


Thursday, December 9, 2021

VIDEO: Fingerpainting Without the Mess! #TLC874

*Compensated affiliate links used where possible at zero cost to you. No posts are ever sponsored or paid.*


CURRENT COUPON CODES
20% off anything at Glassboard Studio  - UNDERSTANDBLUE.
15% off anything at Marker Universe or any of their other sites - Understandblue15.
10% off at Sweet Sentiment with code UNDERSTANDBLUE
10% off the whole store at A Colorful Life Designs - LydiaFan10
5% off at LBC here with code LYDIA5
Arkon Mounts - 20% off sitewide with code UNDERSTANDBLUE

I've been working through some Splitcoast challenges in my daily lives on Facebook and MAN did I have fun with the Technique Lover's challenge this week! Here's how it started...

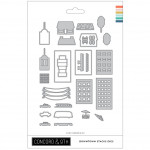
I was answering the site emails at work a few days ago, and a nice lady named Cindy asked what colors were used on some stunning tags in our gallery by Janine Brain for the TLC challenge. I found the tags, but I didn't know what colors she used, so I suggested she PM her and ask. But I couldn't get the tags or the technique out of my mind, so I tried it and filmed it and that's what you'll see today. It's fingerpainting without the mess! SO fun and satisfying. I used a pink, an orange, a yellow and a deep magenta paint for this first one, after masking it off with masking paper, and while I originally intended the masked white area to be snow, I flipped it upside down and it really looked like mountains! Which made me wonder if they hadn't based the dies in this bundle on downtown Salt Lake City, because when I cut them out (I backed them with holographic paper for a downtown feel) and put them against my "mountain" that's exactly what it reminded me of. I colored the benches, bushes and trees with Copics, and put the panel onto one of my pre-cut and scored slimline cards.


Supplies:

Now here's what the sample where I tried to recreate Janine's color scheme for her wintery tags. I used Grey, Blue and Purple paints for this and masked off the "snow." I haven't had the heard to cut down this full sheet yet but I want to make them into bookmarks for my Buy Nothing group.

Supplies:

I wanted to try the same thing with watercolor. I used pink, yellow and blue liquid watercolor in my mixed media paper notebook - and, because I added zero water - just used pure pigment, there's no fading and they stayed super vibrant! I love this! Who knows if I'll ever cut it up and use it - it's so pretty the way it is!

Supplies:

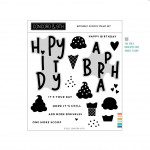
Now here's the thing - I've been trying out this mixed media paper, which I love, and I noticed that it has kind of an unusual surface, and I wanted to try it with colored pencils. So I die cut the ice cream cones (there are matching stamps, but I just wanted the die shapes) and I did some no-line coloring and it works beautifully! I got all the fine details of the cone with four colors, and then very simply colored the ice cream. The paper is great for pencils. I had to google ice cream cones to see the patterns I needed to use - it's been that long since I've had an ice cream cone! But my googling showed a very consistent pattern for the soft serve cone - I never can remember which style is called a sugar cone and which style is called a cake cone. Maybe you do? 

Then I took the little dotty stamp from the set and made the background with white ink on Mushroom cardstock. The ink I used for this fun layering birthday sentiment is Mushroom and Wheat. I know my lighting makes it look black, but it's not - it's just Mushroom stamped three times for clarity.


Ice Cream Dies & Dots & Birthday Sentiment
Mushroom Cardstock

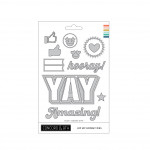
I guess 2021 is the year of the shaker for me! Since finding edge-to-edge shakers, I've made more this year than in the last ten, so when I saw this Yay die, I knew I could fill it up with sequins for a fun birthday shaker. The die cuts the part you see that's the opening AND the black shadow, so what I did was cut into the card front with the letters, and adhered acetate on the back side. Then I cut the die again with black cardstock, and glued that to the front of the acetate in the opening cut by the letters, creating the shadow. I flipped that over, and used these foam squares to just frame the letters and then filled it with these sequins. Then I adhered a piece of copy paper over the opening, peeled off the liner paper on the squares (adding one in each corner) and adhered it to the card base. I used to live in FEAR of adhering shakers crooked, but now I put the card base into my MISTI, add the 1/8" alignment guide in the corner and use that to perfectly place the shaker panel! (PS her shop for the guides is taking a break, but you can sign up to get an email when she's back.)


Supplies:

So you ready to see the video? It's SUPER fun to do this - you should try it today!


Like this post? Never miss a post by following me!

Here are all the supplies I used today:

Downtown Stacks Bundle
[ C&9 ]
Holographic Cardstock
[ SSS ]
Birthday Scoops
[ C&9 ]
Hip Hip Hooray
[ C&9 ]
Ocean Sequins
[ PFS ]
Mixed Media Paper - 30 sheets
[ AMZUS ]
Fuchsia
[ SSS | ACH | JGG ]
Magenta
[ SSS | ACH | JGG ]
Tangerine
[ SSS | ACH | JGG ]
Lemon
[ SSS | ACH ]
Elephant
[ JGG | ACH | SSS ]
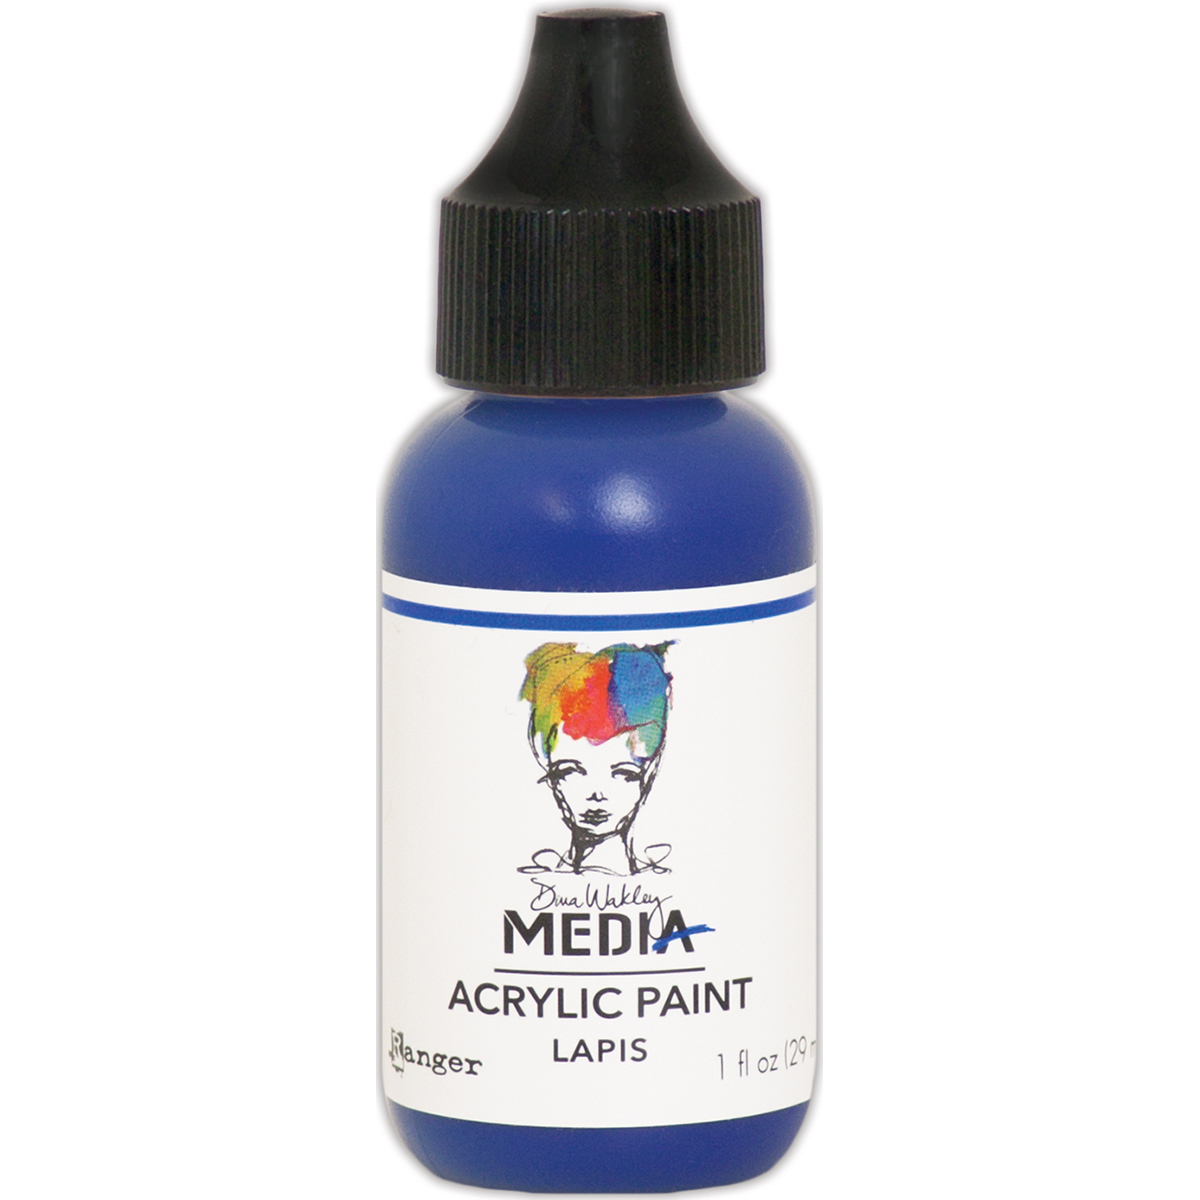
Lapis
[ ACH | SSS | JGG ]
Blackberry
[ SSS | ACH | JGG ]
PD110 Liquid Watercolor Dandelion -...
[ HA ]
PD122 Liquid Watercolor Pink | Hero Arts
[ HA ]
PD113 Liquid Watercolor Deep Ocean |...
[ HA ]
Polychromos
[ BLIC ]
Masking Paper
[ AMZUS ]
Mushroom Ink
[ C&9 ]
Wheat Ink
[ C&9 ]
Mushroom Cardstock
[ C&9 ]
GKD Color Companions Ink Pad- White...
[ GNK ]
Sweet Pops — Sweet Sentiment
[ SWT ]
Pre-cut & Scored Slimline
[ CTC ]
Stamp/Die Pocket Insers
[ CTC ]
Pre-cut & scored A2
[ CTC ]
Art Anthology BIG CRAFT MAT 24x36 311473
[ SSS ]
MISTI Stamping Tool
[ MSP | SSS | ELH ]
Rotatrim Professional Series Cutter -...
[ BLIC ]
Teflon Bone Folder - Ellen Hutson LLC
[ ELH | SSS ]
Crafter's Companion GEMINI...
[ SSS ]
Scor-Pal MINI SCOR-BUDDY Scoring...
[ SSS ]
Storage Envelopes, Medium 25pk,...
[ ELH ]
CheckOutStore Stamp & Die Clear...
[ CHC ]
Extra Large -50 pk, Avery Elle Stamp...
[ ELH ]
Lawn Fawn STAMP SHAMMY Cleaner LF1045
[ SSS | CST ]
Airtable: Organize your stamps & dies
[ ART ]
The Ink Stand White RECTANGLE...
[ SSS ]
EE corners / Stamping Corners / Paper...
[ ETS ]


I wanted to tell you about a super interesting book someone suggested I listen to. It's called Glow Kids and it's about the effect of digital devices on our brains. 

It's actually pretty frightening - he goes into the science of digital addictions in children. I did not know prior to this book that that is a growing field of psychology and there are therapists who specialize in kids with digital addictions.

Makes me very glad for my Gen X childhood - I didn't even have a TV for most of it. That could be why notification bubbles have no effect on me, but they stress out younger people. For example I have 904 unread text notificatins, 2086 notifications from my podcast app group and 218 unplayed voicemails - I literally don't notice any of that. The only time I have my phone in my hand is when I'm trying to take pictures of Clarence. I hate typing on the the danged thing and it mostly sits on the charger and plays podcasts for me. So all of this is pretty foreign to me, but I would definitely think parents would want to listen to this book, so if you are so inclined, give it a listen or a read. It will be an eye opener.

I hope you have a good weekend ahead!

Loveyameanitbye.


Related Posts Plugin for WordPress, Blogger...