Thursday, June 27, 2019

You Don't Need No Stinkin' Sentiments!

Are you a procrastinator?

Has procrastination been forced upon you by life events?

Come sit by me. You are my tribe.

I've always maintained that the reason I can do so many different things is because I'm an epic procrastinator. It means I don't have ANY extra time to spend on the things I need or want to do, because I do them all LITERALLY at the last minute.

I never miss deadlines because of procrastination. If I miss a deadline, it's because I forgot about it or didn't write it down. But never because I waited to do it until the last possible second.

This is why - if someone asks me to do something, they need to not talk to me about it before the actual deadline. Just tell me when it's due and then leave me be. It's what works for me.

Other people don't like to have anything on their to-do list, and so they do all their tasks immediately. Weirdos. :)

It's funny how our wiring can all be so different.

Over the last few years, in addition to my innate skill at procrastination, I've had a series of events that forced procrastination of some things I have wanted to do onto me, and so I finally did one of the little luxury things I wasn't able to get to in the last few years and I can finally show it to you today.

But first - cards.

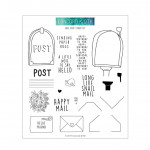
In a Facebook group, I recently ran across a new-to-me brand of dies, and I was SMITTEN. I rushed to Simon Says Stamp to buy them, and they came a few weeks ago when I was out of town.

What struck me about them, aside from the stunning positive/negative play, was that they make WOW cards with no sentiment needed.

I find myself sorting through my cards almost daily, looking for one with just the right sentiment for someone, and I decided I need a decent sized stash with no sentiment at all, so I could just write what I wanted to say at the right moment.

So, needless to say, I'm in love.

First up - this amazing rose die. These are edger dies, so they're meant to go off either size of the card for a full-card design.

Do me a favor and turn your head 90 degrees to the left. The card is just as gorgeous in that orientation, AND you have the white space at the top for a sentiment if you want one.

For this card, I used the die on a 5.5" x 4.25" piece of black cardstock to cut out the roses and just mounted it on a white card base. So pretty.
 The second die I bought was the sunflower edger. I couldn't resist cutting this one out of cold press watercolor paper and using my Daniel Smith watercolor for a loose application of color before adding it to a black card base. I feel like my Kansas co-worker Lori is going to be needing this die.
 Finally - a background from my last video went behind a diagonal cut with this stunning fuchsia die. Tilt your head again, this time to the right and you'd have plenty of room for a sentiment in the horizontal orientation. These dies are PERFECTION for using with those Gel Press prints.
Now I can show you what I've been forced to procrastinate finishing for two years.

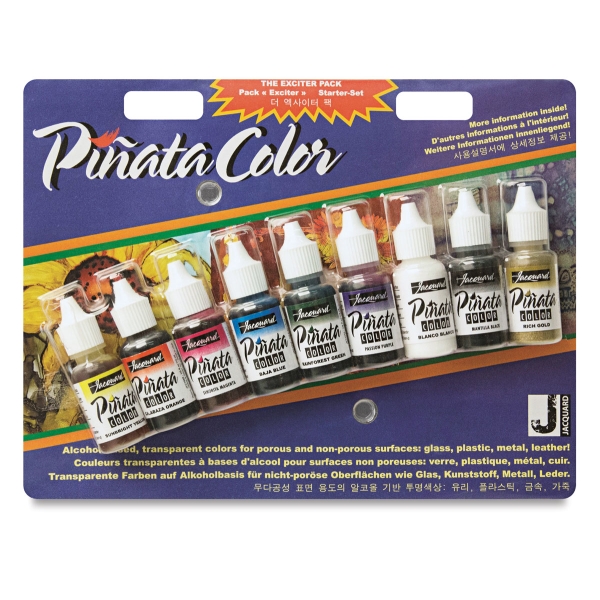
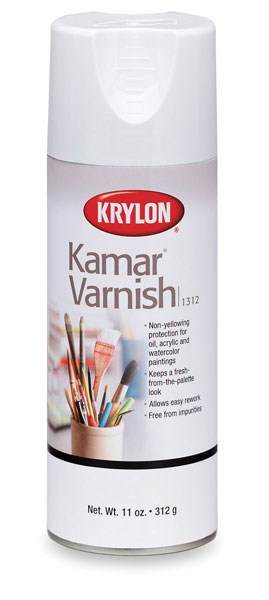
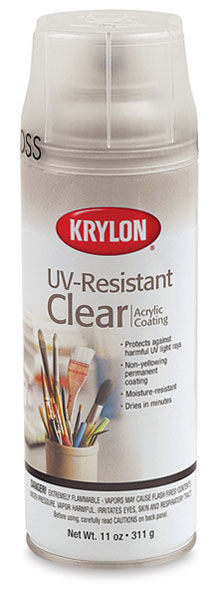
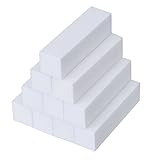
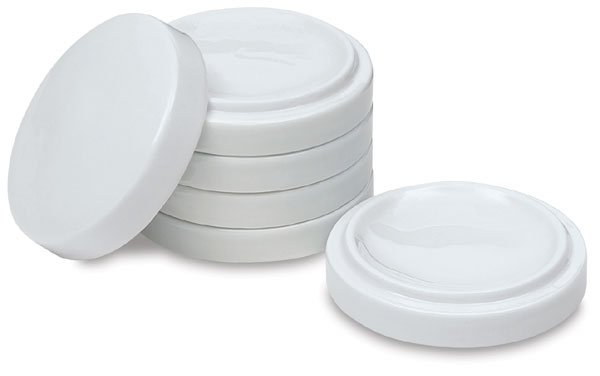
I took an amazing class at the Ladybird Johnson Wildflower Center in December of 2017. It was a class on creating flowers with alcohol ink techniques on white tiles - we used these, cleaned with rubbing alcohol first. I was so tickled with the results. I took them home with the intent of sealing them and getting them hung on my wall, but life intervened. So this weekend, I took a break from some chores I HAD to get done this weekend and I started coating them with a varnish sealer and a UV protectant. I still need a few more coats of the UV, but now at least they are sealed and have one coat of UV protectant. (In case you can't stand the suspense, I did get all my chores done and donated a bunch of things I no longer needed this morning.)

I'm especially proud of this bluebonnet field scene. This was at the end of the class, so it used all the techniques we learned, which I've forgotten, mostly. But I enjoyed it so much and now I have this tile! Memory is overrated. If you're coming to my class at Junkie Fest, this is a clue to something fun :).


 I also did a fun galaxy tile, which I love. That purple is dreamy.
 And - since I'm on a bit of a sunflower kick today, here's my big flower. I could have made hundreds of these. I created the main part of the flower with an air can. I used a sharpie to finish the center. I did the sky part first with very diluted ink. These are the inks I used.

Isn't that fun? What project is waiting for you to finish it? Tell me in the comments!

All the supplies I used are below. Loveyameanitbye.


Creative Expressions RAMBLING ROSE...
[ SSS ]
Creative Expressions SUNFLOWER EDGER...
[ SSS ]
Creative Expressions FUCHSIA EDGER...
[ SSS ]
Daniel Smith Extra Fine Watercolors
[ BLIC ]
Escoda Versatil Brushes, Travel Round...
[ UTR | BLIC | INK ]
Fabriano Extra White Cold Press...
[ BLIC ]
Jacquard PiƱata Colors - BLICK art...
[ BLIC ]
Daltile Restore Bright White 6 in. x...
[ HMD ]
Krylon Kamar Varnish - BLICK art...
[ BLIC ]
Krylon UV-Resistant Clear - BLICK art...
[ BLIC ]
Amazon.com: Falcon Dust-Off...
[ AMZUS ]
Sakura CLASSIC WHITE Fine Line 05...
[ SSS ]
Art Anthology BIG CRAFT MAT 24x36 311473
[ SSS ]
Heavy Base Weight Card Stock- White
[ GNK ]
MISTI Stamping Tool
[ MSP | HA | SSS | ELH | MFT | UNT ]
Rotatrim Professional Series Cutter -...
[ BLIC ]
LightView 2in1 LED Magnifier for...
[ BRG ]
Mudder 10 Pack White Buffer Sanding...
[ AMZUS ]
Xyron ADHESIVE ERASER 23675
[ SSS | ART | AMZUS ]
Teflon Bone Folder - Ellen Hutson LLC
[ ELH | SSS ]
Crafter's Companion GEMINI...
[ SSS ]
Cut Align
[ MSP ]
Essentials by Ellen Storage...
[ ELH ]
Die Storage - Clear Storage Pockets...
[ CHC ]
XL Stamp Storage Pockets
[ ELH ]
Airtable: Organize your stamps & dies
[ ART ]
Lawn Fawn STAMP SHAMMY Cleaner LF1045
[ SSS | ELH | ART | CST ]
Nesting Porcelain Bowls - BLICK art...
[ BLIC ]
My Favorite Watercolor Sketchbook
[ UTR ]
Tombow MONO MULTI Liquid Glue Two...
[ SSS | MFT ]


Tuesday, June 25, 2019

Layering Stencils Two Ways

I did a little Marie Kondoing this past weekend on a neglected stack of stuff. I have a little bit more to go, but it's really amazing how once you get in that mindset, your stuff stays neat, organized and minimal.

I still have way too many books, but I'll be taking some to Half Price books this morning. My goal is to get down to just the two large bookcases in my library, but that means three bookcases have to go, and that's a hard task for a committed reader. But I'll get there. I just need fewer trips and more time at home, which is my goal for 2020.

I rewarded myself for checking that off my list by make two cards with some fun new layering stencils I got. 

I figured it was time to let winter start creeping into my cardmaking - last week I worked on some Hero Arts winter catalog cards (wait till you see what they have!) and now I'm in the mood to make Halloween and Christmas cards. 

I did a little retail therapy this month, and this adorable Yeti stamp set and dies jumped in my cart early. They are so cute, and the sentiments aren't just winter, as you'll see on my card. 

But for my cool blue yeti, I needed a warm backdrop, and this layering mandala stencil was just the ticket with some Picked Raspberry and Spiced Marmalade Inks. I used Pixie Spray to hold the layers down, and then brushed ink on with my Life Changing brushes. I have a video of the process below. I used Oxides here to show you how beautifully they layer, but I used dye inks on the next card for contrast. 
Isn't he adorable? He just wants you to bring it in for a hug.

Now layering with dye inks gives you a softer, glowier look with similar colors. I used my layering poppy stencil with Red Hot, Wild Dandelion and Amalgam inks. Again using Pixie Spray, I could even stack the slightly tacky stencils together, which you'll see in the video. I loved the poppies so much I kept it simple with this hello die.
 What's cool about her layering stencils too, is that she allows you to buy them separately if you want.

Stencils are one of the least expensive and most versatile supplies I own. I'm working through the last of the uncatalogued ones - getting them into Airtable and filed, with the help of my sweet friend Marci. Then I'll be ready for my late summer sale!

So here's the video, and stay tuned below the supplies for a yummy recipe!


Hello Bluebird YETI OR NOT Clear...
[ SSS ]
Hello Bluebird YETI OR NOT Die Set...
[ SSS ]
Mail Drop
[ C&9 | SSS ]
Layered Mandala - A Colorful Life...
[ CLD ]
Layered Fluffy Flowers - A Colorful...
[ CLD ]
Therm O Web PIXIE SPRAY iCraft...
[ SSS | ELH ]
GKD Color Companions Ink Pad- Wild...
[ GNK | SSS ]
GKD Color Companions Ink Pad- Red Hot...
[ GNK | SSS ]
Gina K Designs JET BLACK AMALGAM Cube...
[ SSS ]
Tim Holtz Distress Oxide Ink Pad...
[ SSS ]
Tim Holtz Distress Oxide Ink Pad...
[ SSS ]
Life Changing Blender Brushes. 4 Pack...
[ PFS | SSS ]
MISTI Stamping Tool
[ MSP | SSS | ELH | MFT | HA | UNT ]
Sakura CLASSIC WHITE Fine Line 05...
[ SSS ]
Art Anthology BIG CRAFT MAT 24x36 311473
[ SSS ]
Heavy Base Weight Card Stock- White
[ GNK ]
Rotatrim Professional Series Cutter -...
[ BLIC ]
LightView 2in1 LED Magnifier for...
[ BRG ]
Mudder 10 Pack White Buffer Sanding...
[ AMZUS ]
Teflon Bone Folder - Ellen Hutson LLC
[ ELH | SSS ]
Crafter's Companion GEMINI...
[ SSS ]
Cut Align
[ MSP ]
Essentials by Ellen Storage...
[ ELH ]
Die Storage - Clear Storage Pockets...
[ CHC ]
XL Stamp Storage Pockets
[ ELH ]
Lawn Fawn STAMP SHAMMY Cleaner LF1045
[ SSS ]
Airtable: Organize your stamps & dies
[ ART ]
Cronometer: Track nutrition & count...
[ CRN ]


So lately I've been trying a lot more Asian recipes - that's a flavor profile I love. And for the very first time, I made my own spring rolls with those fun rice wrappers. On the inside of the rolls, I added sushi rice, and this amazing sticky sesame cauliflower as well as some greens. I made this incredible peanut dipping sauce for them, but then I realized that that sauce makes AMAZING cold peanut noodles, so I had that this week. So here's the recipe, adapted from this one. I made it less garlicky and more spicy, and used a honey peanut butter and less honey.

3/4 C. Home Plate Honey creamy peanut butter
2 TBS honey
1/4 C. Seasoned rice vinegar
1/3 C. Coconut Secret Coconut Aminos
1.25 tsp. Christopher Ranch minced ginger
1/4 tsp. Christopher Ranch minced garlic
1/2 tsp. red pepper flakes, ground in the grinder
1 package soba noodles, or your noodle of choice, cooked
Cilantro
chopped peanuts
diced red bell pepper

Whisk first six ingredients together, and coat noodles evenly. Refrigerate, and serve cold, with the garnishes listed at time of serving.

Her blog is great, and she has an awesome vegetarian cookbook as well. Everything I've tried from it is phenomenal.

The noodles I use are these - I love that they're a product of Australia. They also have quite a bit of protein in them. I cook a whole package and this peanut sauce is the perfect amount to coat a whole package, and you'll have a nice bunch of cold lunches for a week.

I also have found a great nutrition tracking app. This one is the only one I've found that a) has an adequate food library and b) tracks micronutrients, minerals, fiber and everything else under the sun. It's amazing to put your food in there and see EXACTLY how much of each vitamin and mineral you're getting from your meals. I love it.

Hope you're having a good week - I'm headed to Junkie Fest tomorrow - maybe I'll see you there! :)

Loveyameanitbye.
Related Posts Plugin for WordPress, Blogger...