Pages

Sunday, October 31, 2021

VIDEO: Easy Die Cut Christmas Ornaments - Felt & Paper

*Compensated affiliate links used where possible at zero cost to you. No posts are ever sponsored or paid.*

Something very fun is coming in tomorrow's blog post and I'm here with both a preview of that AND my Happy Halloween ZOMBIE landscape video! Santa and zombies - what could be better?

So let's start with Santa and work backwards. This is a little sneak peek of the Hero Arts kit and the amazing tag dies in it. For my sneak peek, I decided to make an ornament instead, because I have such a soft spot for homemade Christmas ornaments. These dies make it all super easy! I decided on felt for my ornament. I use this felt glue to assemble it after cutting the pieces out. This is where I buy my felt - you really need wool felt to get clean cuts with dies - don't use that stuff from big box craft stores - it won't cut as cleanly. 

Isn't he cute?


Now I wanted to reinforce the back, since the felt is so soft, so I used the oval infinity dies, and then also punches with holiday glitter paper to reinforce the hanger and the main portion of the Santa. The oval dies have a perfect match for the face! 


My Monthly Hero Kit Subscriptions -...
[ HA ]
DI337 Nesting Oval Infinity Dies (H)...
[ HA ]
PS778 Glitter Paper Holiday Sparkle |...
[ HA ]
Shop - Embellishments - 100% Wool...
[ TE ]
Amazon.com: Felt Glue
[ AMZUS ]


So come back tomorrow for more fun ideas for the kit and some other cool holiday stamps. 

But now - IT'S HALLOWEEN! Happy Halloween! We are having STUNNING Halloween weather, and the AC hasn't run in days. The whole year has been much cooler than normal, which is great because that lower utility bill money turns into ART SUPPLIES through transmogrification that scientists have yet to understand. And it's none of their business anyway.

I found a super fun way to create spooky landscapes with india ink on watercolor paper - I won't spoil it for you - you can watch the video - but it's MAGICAL. I went to the East Austin studio tour YEARS ago and saw a similar effect that an artist got with salt and ink, but I've never been able to reproduce that at all. So I was super excited that this particular chemistry did what I wanted it to. This first card, the only thing I did was add the zombies from this set. SPOOKY.  I am NOT responsible if the hair on the back of your neck stands up. Muahahahah! Look at the little lightning bursts around the clouds above some spooky zombies on the beach!


Here's another example - I really love how pronounced the lightning and the surf are in this one!


I tried this blue and magenta ink on this sample, and it's just magical. To me it seems like the details are softer, but I'm not sure if that's because of how much water I used, or if the different pigments act differently - I need more experiments!


I'm so addicted to this look!

Here are all the products I used to create these - and the video & a Halloween joke are below!

Graveyard zombies
[ HA ]
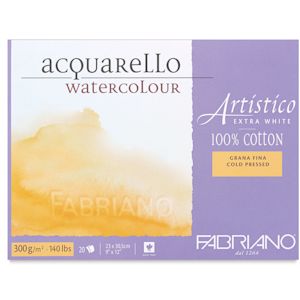
Cold Press watercolor paper
[ BLIC ]
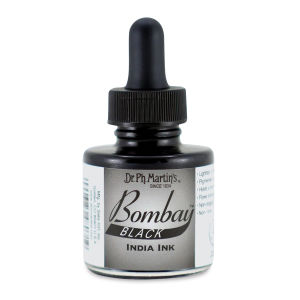
Black India Ink
[ BLIC ]
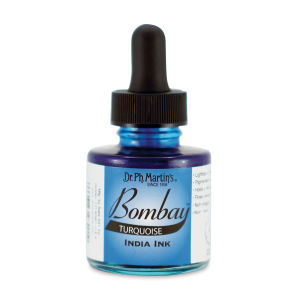
Blue India Ink
[ BLIC ]
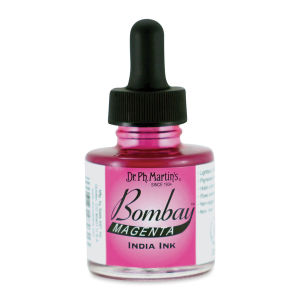
Magenta India Ink
[ BLIC ]
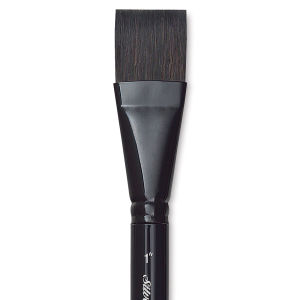
Flat Wash Brush
[ BLIC ]
Eye droppers
[ AMZUS ]
Stylist sprayer - continuous mist
[ AMZUS ]


So here is the video for this spooky technique!


Now for some SUPER corny Halloween jokes and one of my fave fall recipes!

Q: What does a ghost panda eat? 
A: BamBOO

Q: How do you fix a broken jack-o-lantern?
A: With a pumpkin patch!

Now for one of my fave fruit dips from back in the days when I had parties!

This is so yummy if you have some nice tart apples - that's my fave way to eat it. And most vegan cream cheese is great so it's allergy and vegan friendly.

  • 8 oz. plain cream cheese
  • 2/3 C. peanut butter (I use Santa Cruz Organics with no sugar because the fluff is sweet enough. I love it both with creamy and crunchy)
  • 8 oz. marshmallow fluff - there's a fun vegan one in Austin now - called Funky Mello. So yummy and their customer service is amazing.
I like to use a mixer to get it super smooth. Then just put it in the fridge until you are ready. Serve with fruit, but tart apples and bananas are my faves with it!

Anyway - I hope you have a great Halloween! I love this holiday and I'm sad it ends today - but don't think there won't be all year zombies, because there will!

Loveyameanitbye.

Like this post? Never miss a post by following me!

CURRENT COUPON CODES
15% off anything at Marker Universe or any of their other sites - Understandblue15.
10% off at Sweet Sentiment with code UNDERSTANDBLUE
10% off the whole store at A Colorful Life Designs - LydiaFan10
5% off at LBC here with code LYDIA5
Phone stand for filming link below in the banner - 20% off sitewide with code UNDERSTANDBLUE


Friday, October 29, 2021

Eclipse with a Twist + GIveaway

*Compensated affiliate links used where possible at zero cost to you. No posts are ever sponsored or paid.*

I was thinking about my last eclipse card last week - and I felt like my sentiment got lost in the background, so I had an epiphany about why when I was making this card. 

First, I ink blended with this stencil  a white panel, and cut that with the SDCS. Then I cut the Many Blessings out of that panel and kept all the pieces. I cut three more to stack under the first one and glued all those together, and that's when I had the epiphany!

If before I pieced the stack back into the opening, I very lightly ink blended around the hole, the die cut on top would stand out more! So I did, very carefully and lightly using the same four colors I used on the panel - Blue Yonder, Something Blue, Lazy Day and Sno Cone. Then I pieced the stack and all the little pieces I kept back in and added some little snowflakes, which for some reason look pink here, but they're just iridescent - I must have been wearing a pink shirt!


I'll be back on Sunday with a new spooky Halloween video and a fun Christmas surprise. And if you're in my stencil workshop - I'll see you tomorrow!
Slim Line Oversized Many Blessings...
[ PFS ]
Slim Line Changes Stencil – Picket...
[ PFS ]
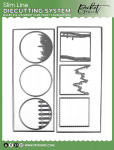
Slim Line Die Cutting System
[ PFS ]
Sequin Mix Plus - 1950's Christmas –...
[ PFS ]
Life Changing Blender Brushes. 4 Pack...
[ PFS ]
Premium Dye Pads & Refills – MFT Stamps
[ MFT ]
News – MFT Stamps
[ MFT ]
Patterned Paper – MFT Stamps
[ MFT ]
Stripe Splash Paper Pad – MFT Stamps
[ MFT ]
Petite Gingham Paper Pad – MFT Stamps
[ MFT ]
Keep Me in Stitches Paper Pad – MFT...
[ MFT ]

Loveyameanithaveagoodweekendbye.

Like this post? Never miss a post by following me!

CURRENT COUPON CODES
15% off anything at Marker Universe or any of their other sites - Understandblue15.
10% off at Sweet Sentiment with code UNDERSTANDBLUE
10% off the whole store at A Colorful Life Designs - LydiaFan10
5% off at LBC here with code LYDIA5
Phone stand for filming link below in the banner - 20% off sitewide with code UNDERSTANDBLUE


Monday, October 25, 2021

VIDEO: French Plaster Effects + Pumpkin Pie Revision (Dairy-free)

*Compensated affiliate links used where possible at zero cost to you. No posts are ever sponsored or paid.*

I had a self-imposed shopping moratorium while I caught up on some beauties I bought over the summer and hadn't used yet. 

That ended, of course when I saw all the recent Halloween stuff, but I'm re-imposing it so you will be seeing stash posts for a while! I hope you are working through your pandemic stash as well. Now I just need a little elf to come over and do some filing. 

I've been rediscovering my brayer lately, and I have a few videos in the queue with brayer techniques, so dust yours off and join me!

You'll see the process in the video, but the key was stamping and masking the beautiful image of this girl first - and no I didn't mask those skinny table legs! The masking on this image is very simple. The tone on tone image in the background is from this also French stamp set, which I love just as much - the POODLE! So cute. All in all, a very simple and easy card. The ink colors, which are my go-to sunrise/sunset colors are Wild Dandelion and Bubblegum pink. The stamps are larger, so I went with my pre-cut and scored slimline card for this, but it fits fine on an A2 as you can see.


And after the video, an updated recipe and some very sage advice from a sheriff in Florida. 


The Bakery
[ JGG | ACH ]
Marcher dans Paris
[ JGG ]
Wild Dandelion
[ GNK | ELH | SSS ]
Sweet Corn
[ ELH | SSS | GNK ]
Bubblegum
[ GNK | SSS ]
The Ink Stand White RECTANGLE...
[ SSS ]
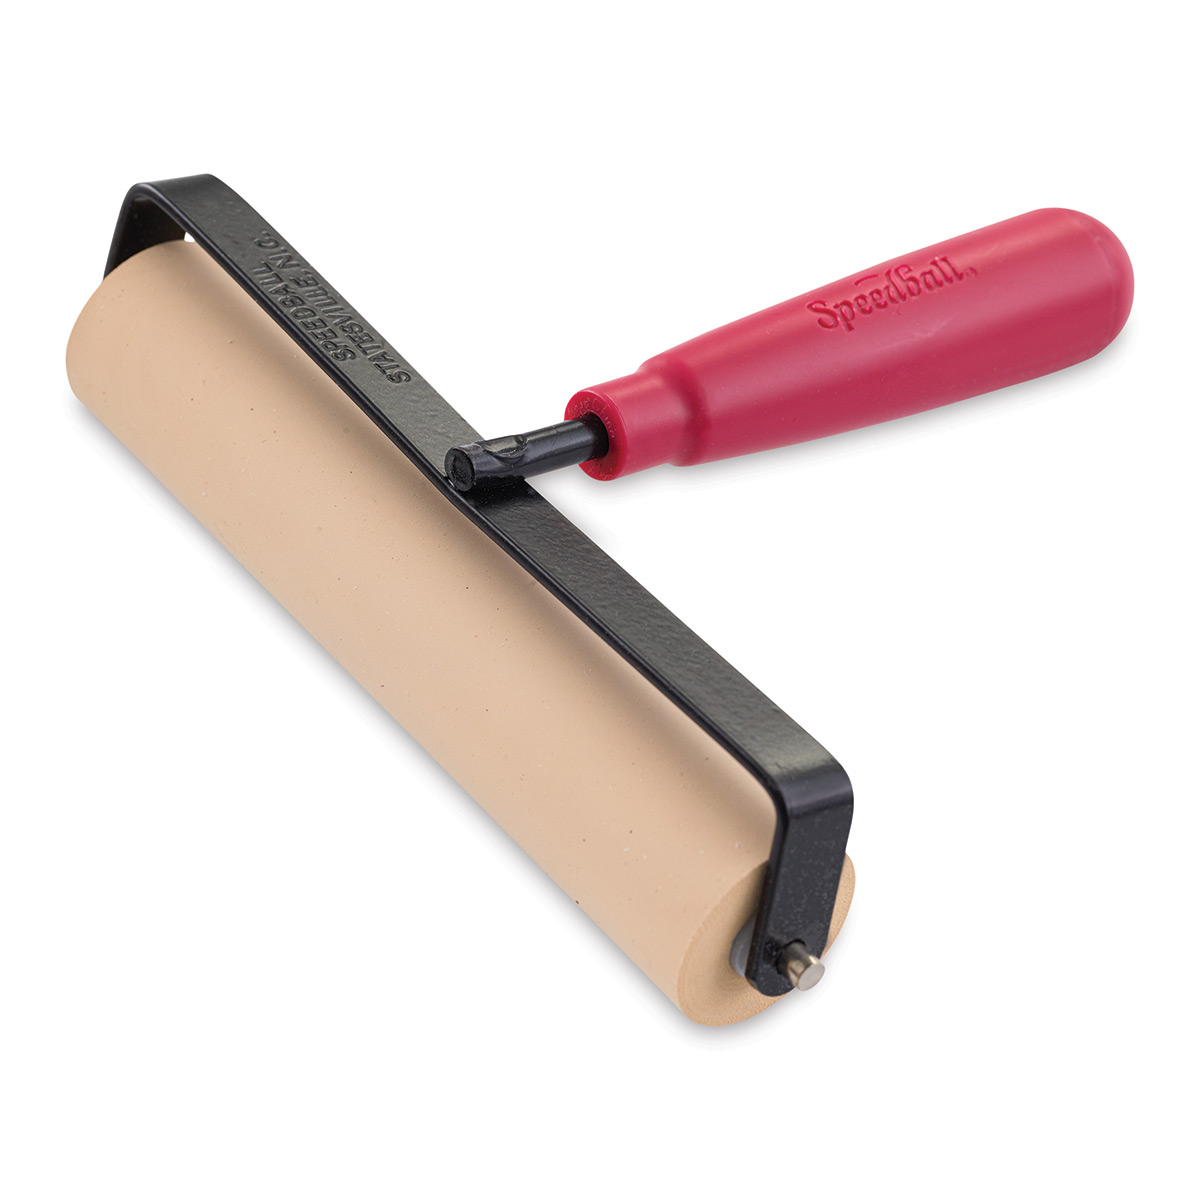
Speedball Soft Rubber Brayer - 6''
[ BLIC ]
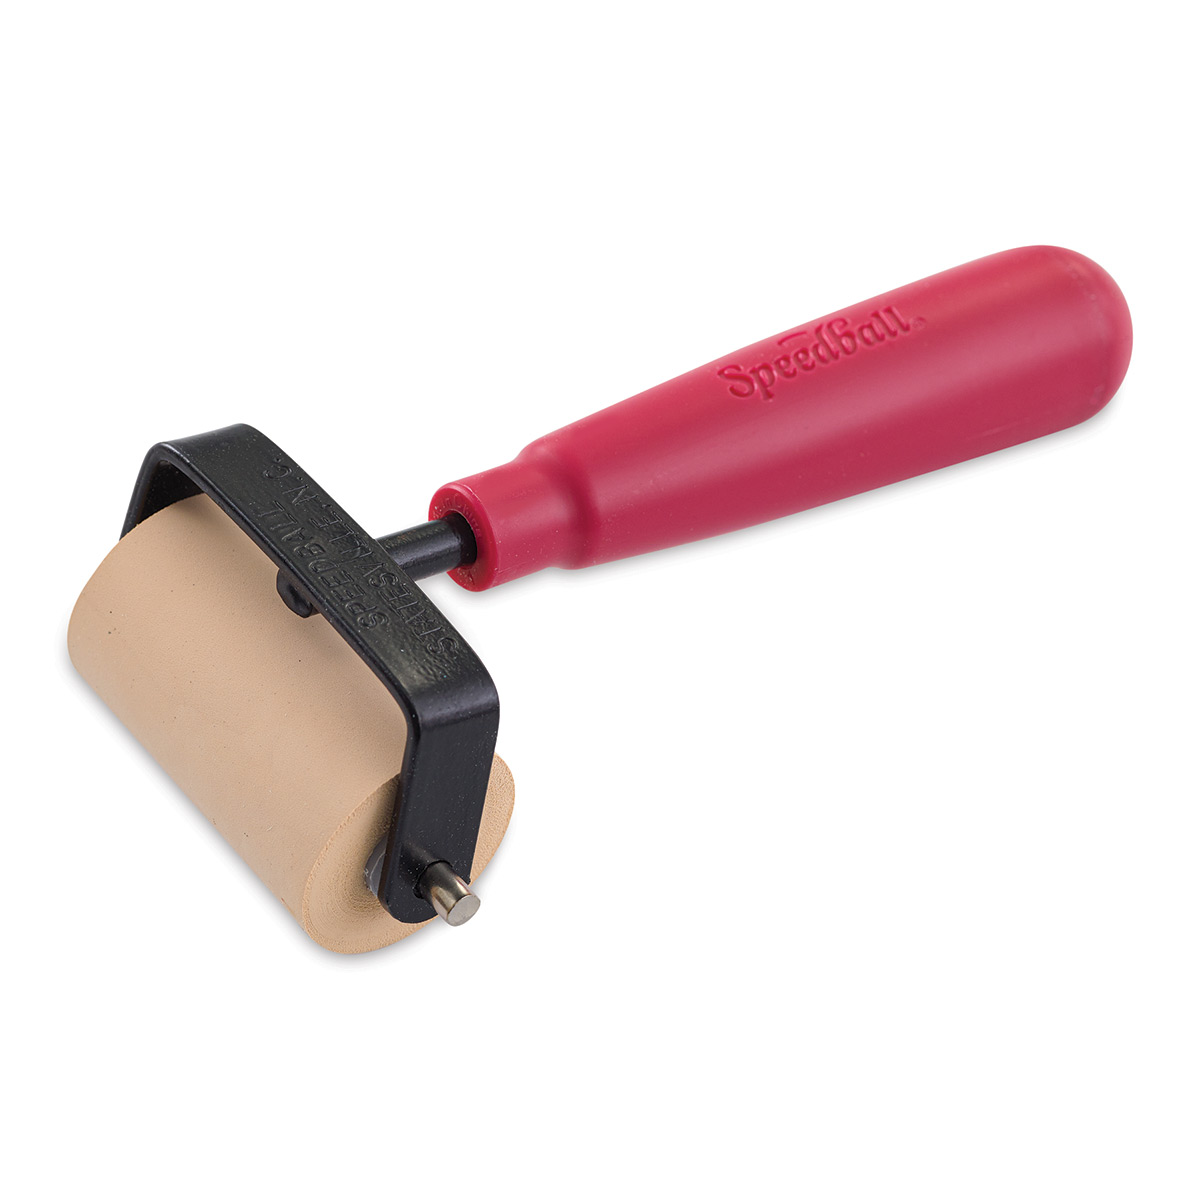
Speedball Soft Rubber Brayer - 2''
[ BLIC ]
Silicone Sponge Blender
[ AMZUS ]
Es-Presso "chucky" tool
[ SWT ]
Understand Blue Slimline Folded...
[ CTC ]
Understand Blue Card Making Bundle #3...
[ CTC ]
Amazon.com : Avery 6465 Removable...
[ AMZUS ]
MISTI Stamping Tool
[ MSP | SSS | ELH ]
Rotatrim Professional Series Cutter -...
[ BLIC ]
Teflon Bone Folder - Ellen Hutson LLC
[ ELH | SSS ]
Crafter's Companion GEMINI...
[ SSS ]
Scor-Pal MINI SCOR-BUDDY Scoring...
[ SSS ]
Storage Envelopes, Medium 25pk,...
[ ELH ]
CheckOutStore Stamp & Die Clear...
[ CHC ]
Extra Large -50 pk, Avery Elle Stamp...
[ ELH ]
Airtable: Organize your stamps & dies
[ ART ]
The Ink Stand White MINI is354 at...
[ SSS ]


So I was enjoying the Ashleigh Banfield interview with Brian Laundrie's attorney this weekend when I stumbled across this HILARIOUS advice from a Florida sheriff in a county where the homicide rate is skyrocketing. I have probably watched this video 100 times. 


I also wanted to bring you an update to my dairy-free pumpkin pie recipe. The consistency can be different with coconut milk vs. sweetened condensed dairy milk, so I thought I'd add an egg, beaten really well, and eliminate the white sugar. It was DELICIOUS. This particular brand of coconut cream is my fave - my sister gave me two cans of it, so hopefully you can find it near you. 

Dairy-Free Pumpkin Pie, Revision 2 

3 large eggs, beaten really well
15 oz can pumpkin
1 cup Nature’s Greatest Foods Coconut Cream
1 tsp vanilla extract
¾ C. brown sugar
½ tsp Redmond Real Salt sea salt
2 tsp garam masala


Beat the eggs with a whisk. Add everything else and whisk till smooth. Pour into pie crust and follow instructions above. I just use the refrigerated Pillsbury crusts.


Hope your week is great! 
Loveyameanitbye.
Like this post? Never miss a post by following me!

CURRENT COUPON CODES
15% off anything at Marker Universe or any of their other sites - Understandblue15.
10% off at Sweet Sentiment with code UNDERSTANDBLUE
10% off the whole store at A Colorful Life Designs - LydiaFan10
5% off at LBC here with code LYDIA5
Phone stand for filming link below in the banner - 20% off sitewide with code UNDERSTANDBLUE