Pages

Monday, October 31, 2016

Happy Halloween!

HAPPY HALLOWEEN!!!!

I love Halloween. I remember every costume my mom made me, and I LOVED our Halloween parties at school. And yes, I grew up in the olden times when we were allowed to have Halloween parties and not genericfallfestivalsorsciencefairsthatjusthappentotakeplaceonOctober31.

We didn't go far on Halloween. My friend David and I would trick or treat with our plastic pumpkins until we couldn't lift them - which didn't take long. A few blocks maybe. We were at home sorting our candy no later than 8 I'm quite sure. In those days you didn't need to drive across town to have outstanding trick or treat hauls.

I remember one house on our street - if you want to talk about spooky - that handed out those red chewable things you chew and then you see where there's plaque on your teeth. I'm not even kidding. Yes, maybe he was a dentist, but I am 100% certain he could have benefited by just having a beer and maybe riding a rollercoaster and pulling the stick out of his butt for just one day a year. Just one day.

He might actually have been the Patient Zero of our current funsquashing epidemic in the 2000s.

In the olden days, it was a magical night.

It brought our neighborhood together, and told us, as kids, who the really fun adults were. The ones that would take a night to just focus on providing a joyful experience for perfect strangers' little brats.

I walk a lot, and I love that my current neighborhood is very gung ho about Halloween. There are so many elaborate scenes set up on people's yards. I passed one the other day that made me shriek involuntarily at 8 AM. They have my complete admiration! Don't worry - there were no clowns.

Unfortunately, I am not organized enough to do all that, but what I can tell you is that the very best candy is purchased for my little visitors. It's what I can do. Kit Kats, Snickers, Reese's, Butterfingers - we are not messing around with value bags on this one night - we are blessing these little kids with every delightful candy bar there is. You do what you can. Especially to fight the dentist funsquashers.

In Texas, we get the added fun of Dia de los Muertos, which brings its own beautiful imagery and treats. The beautiful sugar skulls, (calaveras) and celebration of lives past, makes it an especially happy time of year. It's OUR fall, since we don't really get one, and it's exciting and fun and sweet in so many ways.

So I wanted to wish you a very, very happy Halloween, happy Dia de los Muertos, happy All Saints' Day. Happy Please-For-The-Love-Of-God-Don't-Give-Dental-Products-To-Trick-or-Treaters-Day.

And I had to do that with an ADORABLE skelly. And a fun little texture technique for Lori's Falliday Fest challenge with Rainbow Tape. Please, if you are afraid of mixed media, watch my video and see how I do "clean" mixed media. But first, please know that you are GRRRRREAT.


Isn't he the cutest? And I guess I'm on a retro technique kick because the way I did that texture reminded me of the old rubberband on your brayer technique. Just a little updated and more textury. :)

So here's a quick video, mistakes included, of the whole process in real time.


I like doing real time videos every now and then just to remind myself how much fun you can have in 6, 8 or 10 minutes.

Happy Halloween.

Loveyameanitbye.

Wednesday, October 26, 2016

There and Back Again

Falliday Fest (the challenge and tutorial portion) is over now, and we are in a catch-up period that lasts until Halloween. There were thirty challenges total, and ten tutorials, and to be eligible for the largest prizes we have, participants need to do all thirty challenges, plus five of the tutorials. So we gave everyone a little more than a week to catch up. We're not monsters, after all :).

And with 30 challenges over a two week period I couldn't possibly blog them all in time, so I still have a few really fun ones to show you.

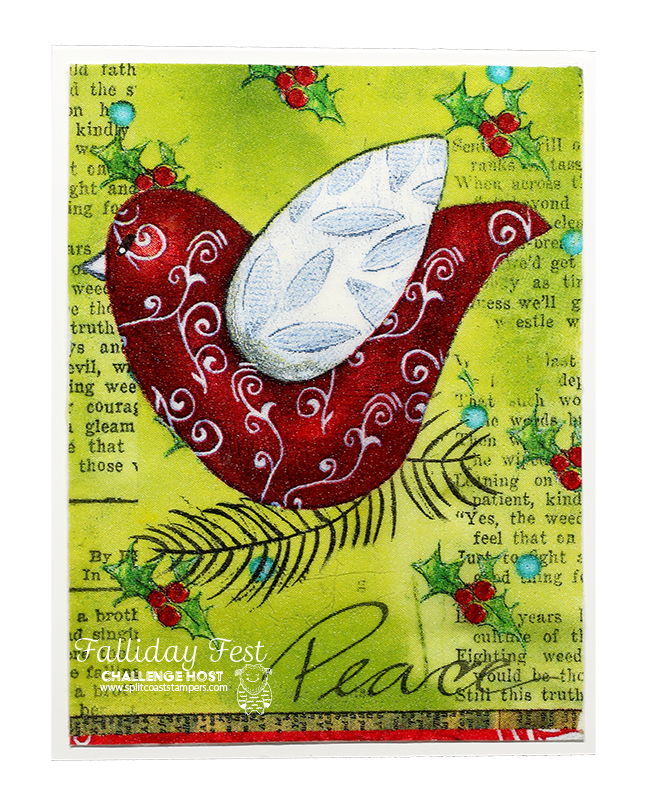
Remember my old Felted Cardstock tutorial? I did this technique at Maker Faire in 2008 - talk about a thrilling and nervewracking experience! I miss Maker Faire coming here a lot. It was really fun and it was an honor to be one of the makers.

Well Patty Bombyk used this technique for her challenge and I was so excited to see it again.

I decided to try something different this time just because I'm unpredictable like that. So instead of Saran Wrap and and iron, I just very carefully used gel medium to apply the napkin to the cardstock. I put a thin layer of it on the cardstock with an old credit card, and then I placed the napkin on top of it. (Be sure and separate all the layers of the napkin and use only the topmost printed layer - the exact napkins I used are linked below.)

Then I rolled over it with my acrylic brayer to make sure there were no bubbles or wrinkles and set it aside to dry.

After it was dry, I trimmed away the excess napkin and I thought it needed a little shimmer. You can see a few glints in the photo - I added Ranger Frosted Film to the whole surface. I LOVE this product, and Ranger doesn't make it anymore. Boo hoo. If anyone knows of a similar product, I'd love to hear about it. Here's a video of Tim Holtz showing it at CHA. It's cool because no glitter comes off it, and it's really just a subtle shimmery finish.
Felted Cardstock Technique by Understand Blue


Isn't that a gorgeous napkin? Sorry - you can barely see the edges of my card, but this photo went to heaven with my hard drive so I can't edit it.

The technique works great with gel medium too - my advice would be - use it sparingly, use a credit card to get an even layer, and go slowly to avoid tearing the napkin or getting wrinkles. Never cut the napkin down before doing this technique with either method - just trim it down after it's adhered.

I always have napkins leftover after holiday parties - I need to remember to save them for cards. It would be a fun way to document your holiday parties in an art journal too, I think.

I'm headed up for my retreat today - getting ready for a super fun weekend with some very special ladies. There will be tons of photos on Facebook and Instagram - maybe not during the retreat - we don't have great cell coverage out there - but afterwards, and many of the participants are hanging out in Austin afterwards for a few days of shenanigans.

Loveyameanitbye.

Friday, October 21, 2016

#teambadwitch

Today's Falliday Fest challenge from Jean Cross asks us to choose our witch team.

I think you can see this was an easy decision.

links to supplies


I love the sentiment in Haunt It from the Project Bin - and I actually did stamp surgery on this one - it has little witch boots under it, but I knew I wanted to make it look like I'd dropped a house on that broad, so I cut that part of the image off - I love how easy it is to modify photopolymer stamps. Then you can just fit them back together like puzzle pieces and use them normally.

I made the leg with two Paper Smooches Shoes dies. I first cut the boot from black cardstock. Then I took the pump die and cut that out of red glimmer paper and glued those together. Then I used 1/8" green foil Rainbow tape to make the stripes.


Heh.

It's true, you know. I can't resist sparkly red shoes. It's not anything I can help.

Hope you're having a good Monday! If you're wearing pretty shoes, you'd best keep an eye on the sky!

And you'd probably better listen to the podcast Suzanne did - she interviewed me about building a crafty community - and her podcasts are fantastic! While you're there, listen to the one she did about design teams - great advice.

Loveyameanitbye.


Tuesday, October 18, 2016

A Remake!

When I first started stamping, I remember being particularly wow'ed by three things:

  • Heat embossing, which inspired my very first homemade Christmas cards at some point in the 80s. I embossed an image of a chile ristra in gold and colored it with some hideous 80s markers and thought I was in crafty heaven.
  • "WOW bags" - at the first Stampin' Up! workshop I went to, the demonstrator used those Rollagraph rolling stamps to roll alternating diagonal stripes of Posy and Vine in Pink Passion and Green Galore. I think I actually screamed. I'm neither proud nor ashamed of this.
  • The shaving cream technique.
I was truly amazed the first time I "marbled" paper with shaving cream. I must have made 100 really terrible cards with my experiments. My apologies if you received one.

But it was SO cool. It was the beginning of my mixed media fascination I think. So different from stamps, ink and paper.

But once you'd made a few backgrounds, that was kind of it outside of color combos.

But for my last retreat I thought I'd modernize it just a bit and see if it worked with stencils. I had been playing with brusho and embossing paste, and thought shaving cream might be less messy in a group setting so I tried it and loved it.

And I think (they can correct me if I'm wrong) the attendees came away with that as their favorite technique we did.

I asked them to bring their own stencils, and some of them were so amazingly intricate - and this technique preserved every detail - it was amazing. So I felt like it would be fun to do a tutorial on it.

Here are some of the cards I made. 


Fun right? I've been trying to see if I can replicate this with another inking technique and I've decided it's pretty unique.

So this became one of our Falliday Fest tutorials this week, and I'm super excited about it.

I made a short video on it with some super important tips you'll want to hear, so without further ado...


I hope you enjoy this as much as I do - it really makes your craft room smell nice as a bonus!

Loveyameanitbye.